
The SS6 LED Fog Light Kit for the 2024-2026 Toyota Tacoma and 2025-2026 4Runner replaces your factory fog lights with a pair of Stage Series 6" LED lightbars for dramatically improved output and a modern look. Here's the full walkthrough.
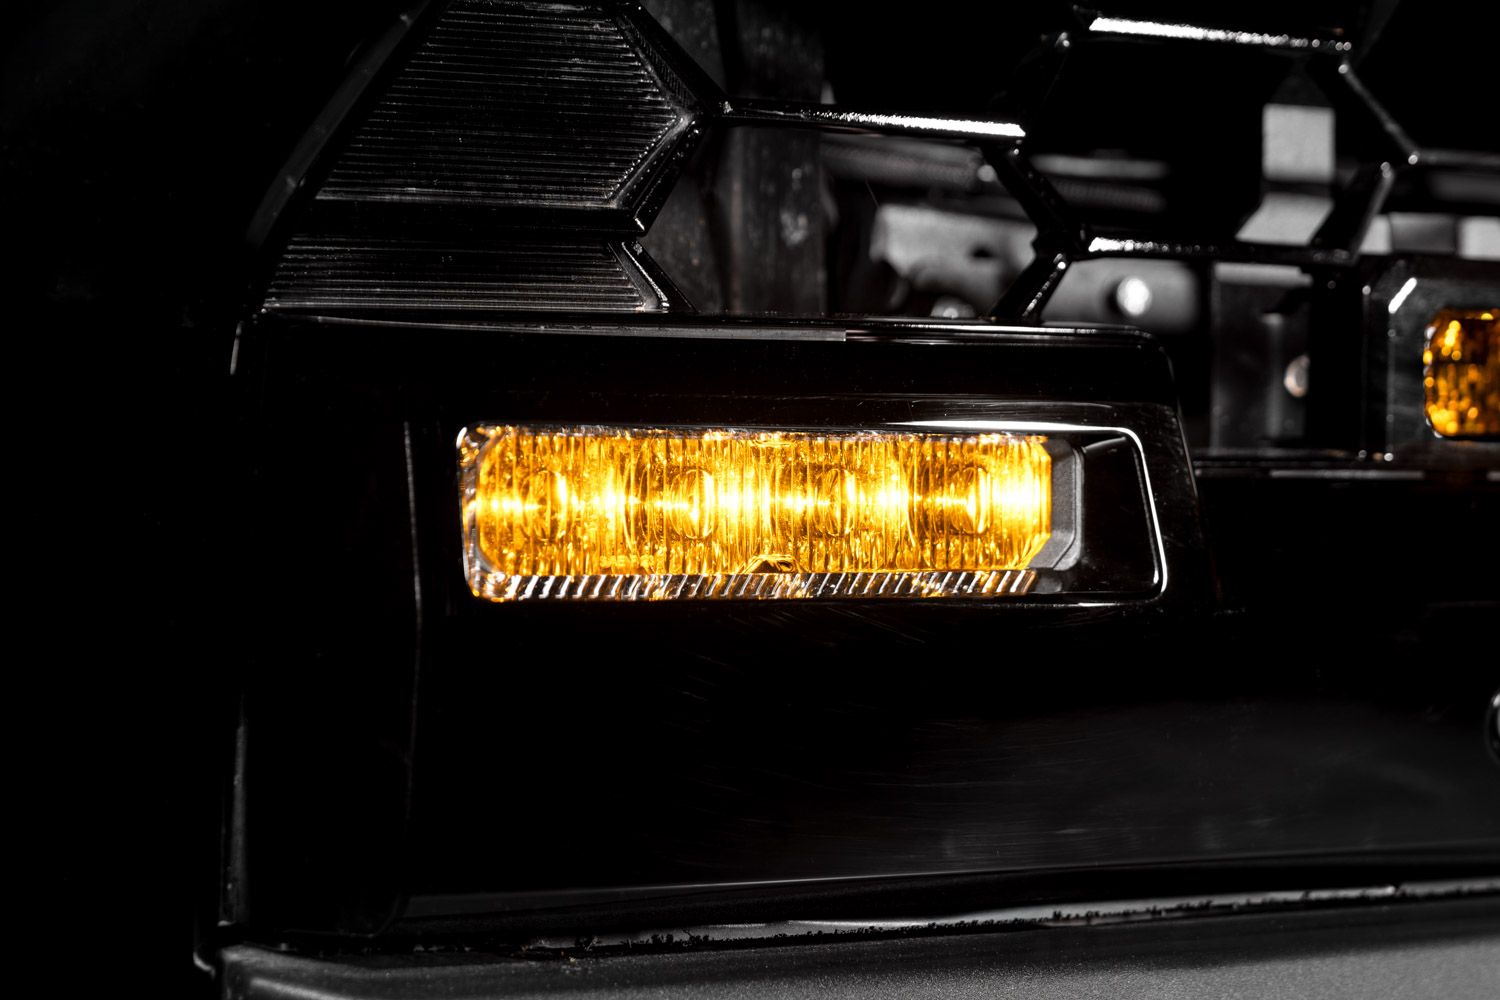
Table of Contents
- Installation Video
- Tools Required
- Installation Instructions
- Questions About the Install?
- Shop Tacoma and 4Runner Lighting at Ess K Customs
Installation Video
Tools Required
- Ratchet with extensions
- 10mm socket
- Phillips screwdriver
- Phillips screwdriver bit
- Plastic trim removal tool
- Needle-nose pliers
- Zip ties
Installation Instructions
Step 1 — Remove the Bumper
Pop the hood and remove the six button clips at the top. Lift up the air intake and remove it, then disconnect the two multi-pin connectors by the passenger-side headlamp. If equipped with a front air dam, remove the three bolts with a 10mm socket. Using a 10mm socket, remove five screws on the driver-side wheel liner (note the different screw lengths). Remove two twist clips, push the fender liner aside, and partially remove the flare by squeezing the three clips holding it to the body. Repeat for the other side. Remove one Phillips screw from both sides while flexing the fender flare outward. Tug the bumper panel to release it from the support structure. Remove four bolts behind the lower grille using a 10mm socket and 10-inch extension. Pull the bumper up and away and set it face-down on a safe surface.
Step 2 — Remove the Factory Fog Lights
Release the mid-support by applying upward pressure on three clips and pulling away. Reinstall the mid-support onto the vehicle with a 10mm socket. Unplug the multi-pin connector on the top right. Remove six bolts with a 10mm socket, then remove the active shutter assembly by lifting up and off. Unplug the H11 fog light connectors from both fog lights. Remove five Phillips screws along the fog light fascia. Release the ten locking tabs securing the fascia, then lift it away. Use a long Phillips screwdriver to remove four long screws holding each fog light, then remove both fog lights.
Step 3 — Install the Fog Light Brackets
If your kit includes a mounting adapter bracket, install the set screws in the center position on both sides of the lightbar, attach the adapter with the included Torx screws, then mount the lightbar to the main bracket with the supplied hex bolt. Arrange the lightbars so wire harnesses are on the outboard sides. Attach the correct side-specific brackets to each SS6 lightbar using the included bolts. Secure the bolts with a 10mm socket — tight enough to hold but still allow adjustment. Add the included water washers to the four factory bolts and start threading one screw into the outboard position.
Step 4 — Install the SS6 Lightbars
Feed the lightbar wire harness through the opening in the back of the fog pocket and position the SS6 assembly. Seat the washer on top of the lightbar bracket. Position the lightbar as high as possible while keeping it level. Tighten the outboard screw and secure the inboard screw with a long Phillips screwdriver. Repeat on the other side, centering the lightbars vertically within the slots.
Step 5 — Final Assembly
Reinstall the fog light fascia. Plug in the H11 to DT adapters on both sides (the positive indicator on the H11 plug aligns with the green wire). Secure excess wiring with zip ties. Reinstall and plug in the active shutters. Hang the bumper back onto the vehicle, making sure it aligns and clicks into the mid-support bracket. Reconnect the two multi-pin connectors.
Backlight Connection (Optional): If your lightbar has the integrated amber backlight feature, connect the blue wire with the red male spade connector to a fused 12V source (such as the parking light circuit) using the included T-taps. Do not connect directly to the battery.
Step 6 — Test, Aim, and Complete
Test the lightbars for functionality. If they don't turn on, check the polarity of the H11 to DT adapter. Follow Diode Dynamics' fog light aiming instructions for optimized output. Tighten the M6 bolts and reassemble the vehicle. The install is complete.
Questions About the Install?
If you run into any issues during the installation, contact Ess K Customs — as an authorized Diode Dynamics dealer, we're here to help.
Shop Tacoma and 4Runner Lighting at Ess K Customs
Looking for lighting upgrades for your Tacoma or 4Runner? As an authorized Diode Dynamics dealer, Ess K Customs carries genuine products with full manufacturer warranty.
Browse Tacoma Fog Light Kits at Ess K Customs →
This install guide applies to Diode Dynamics SKUs: DD7931, DD7932, DD8577, DD8578, DD8579, DD8580, DD8843, DD8844