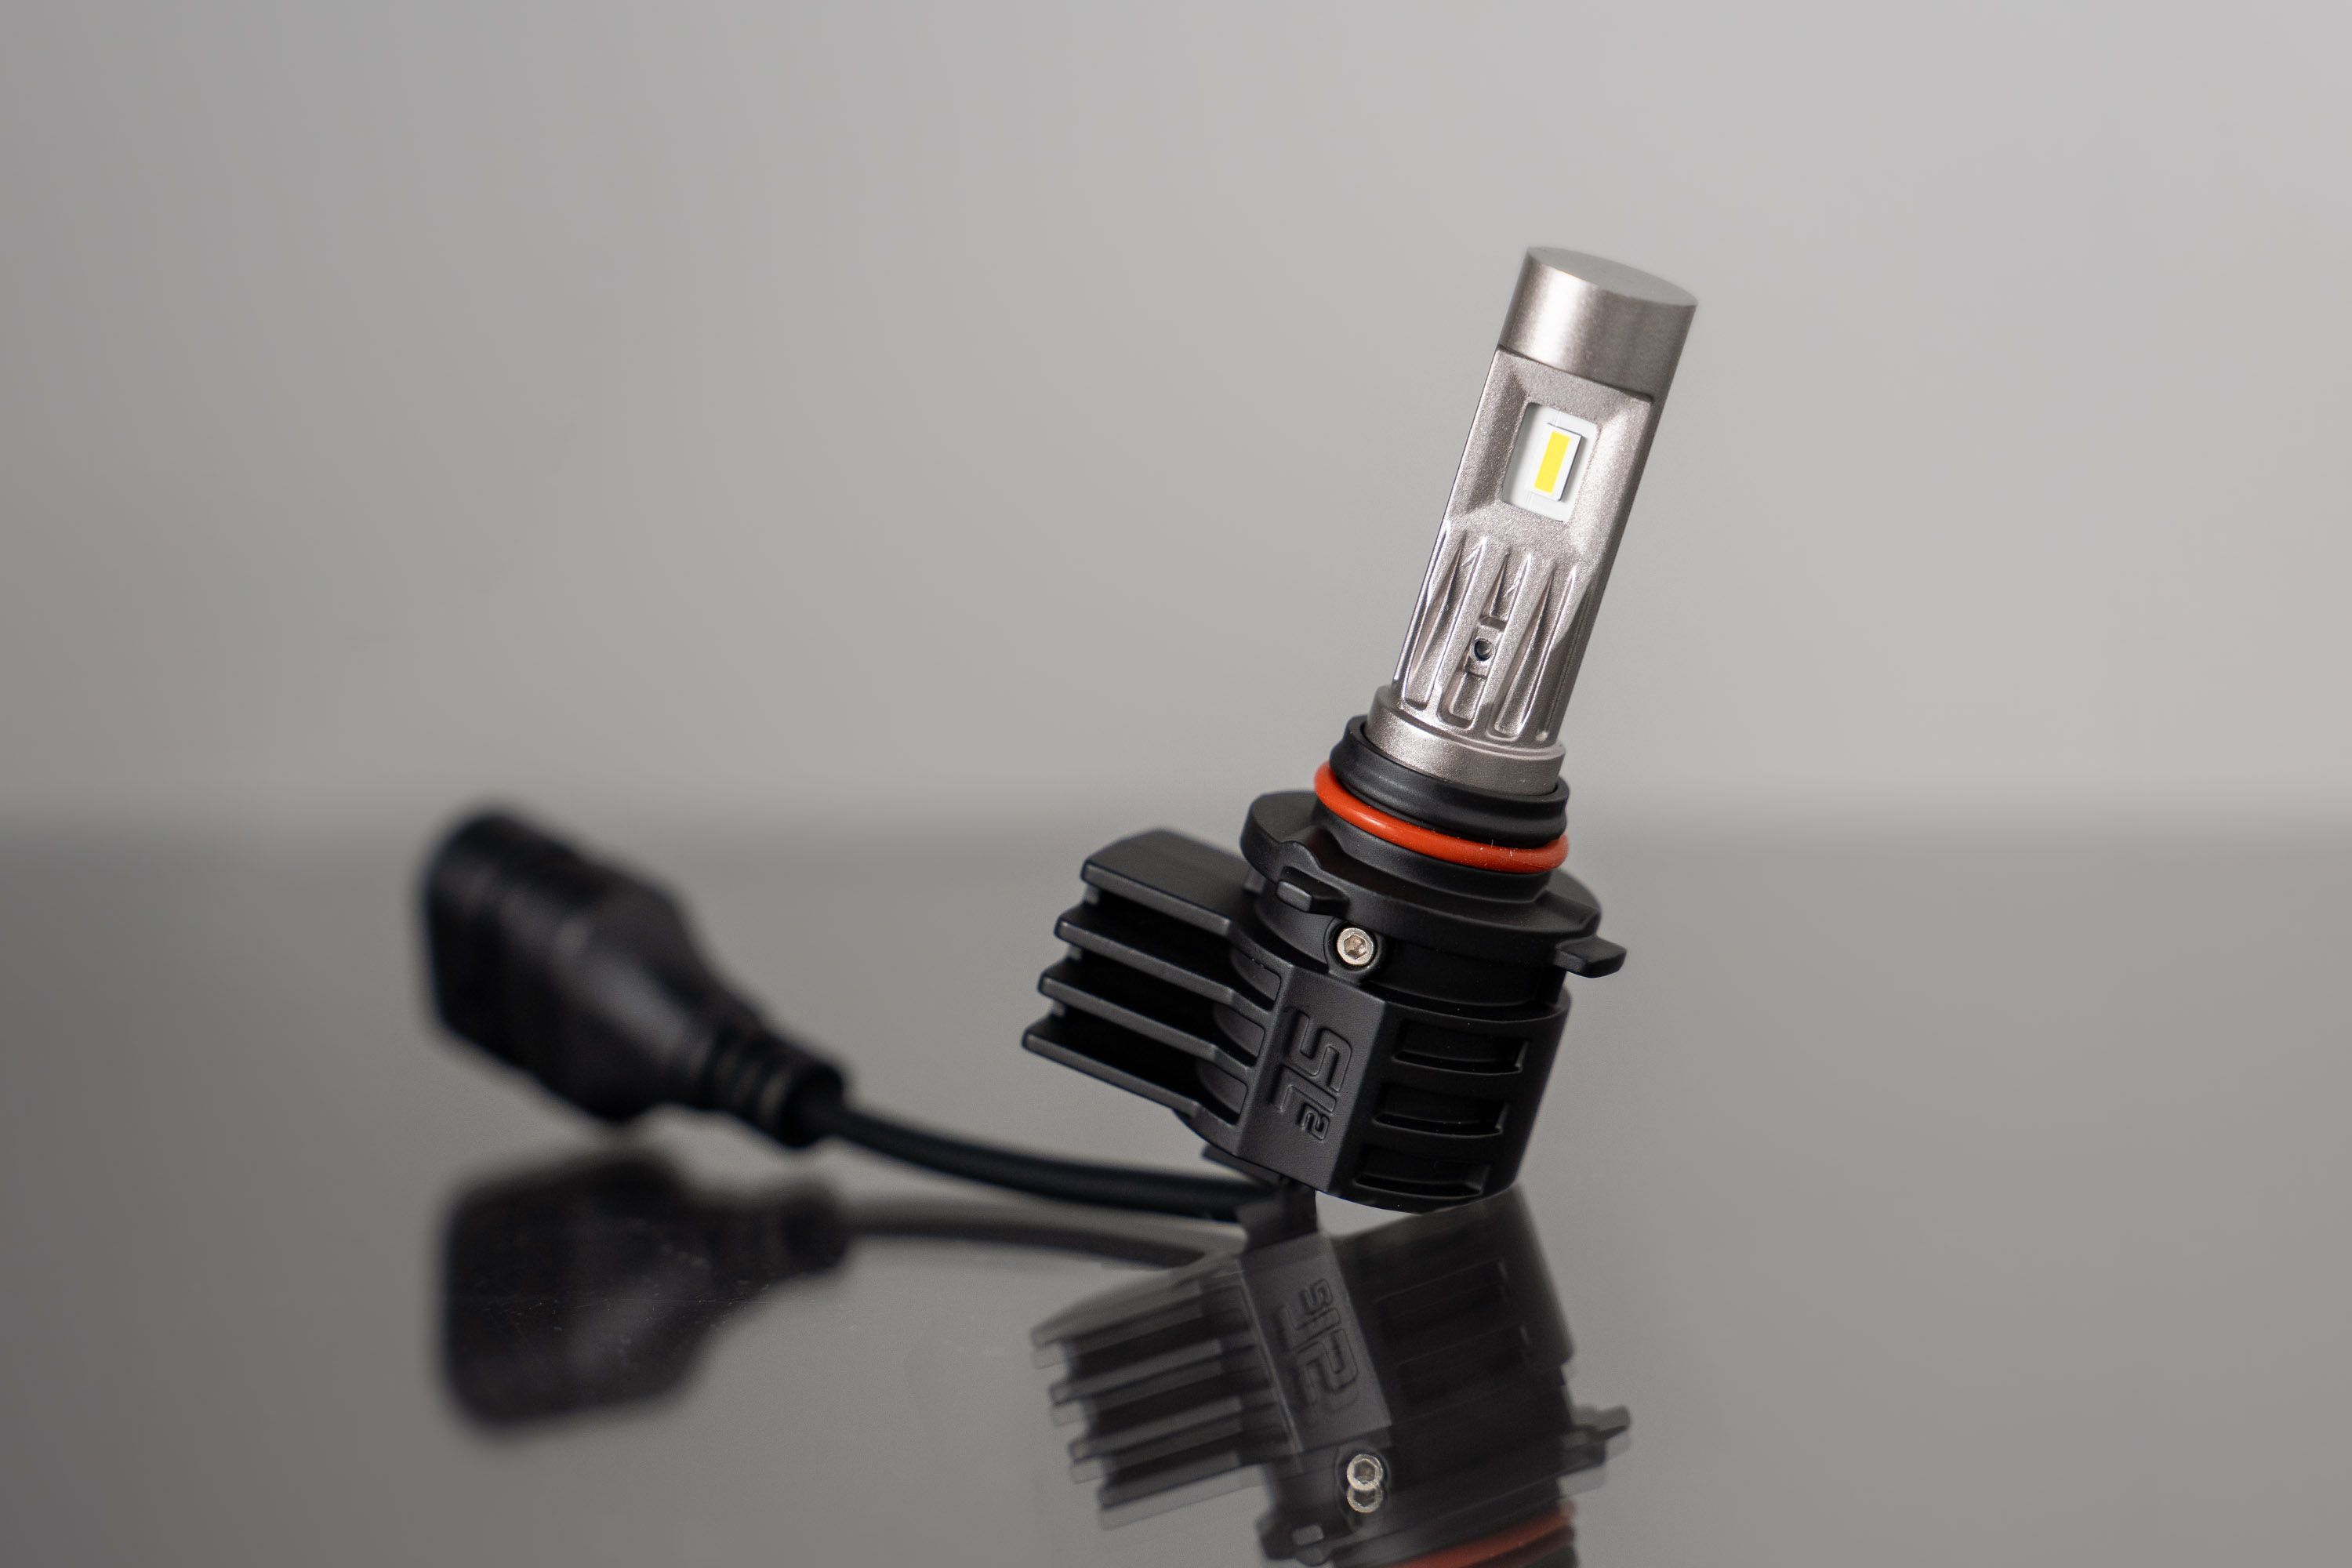
The Diode Dynamics SL2 LED Bulb is a direct plug-and-play replacement for factory halogen bulbs, featuring a compact design, internal driver, and easy collar rotation for proper beam alignment. Here's how to install them.
Application Notice: LED bulbs are legal in the USA for fog light use only. Not compliant with DOT/FMVSS108 and not street legal in the USA for headlights. Legal for off-road use. International legality varies by country. This regulation applies to all LED bulb brands.
Table of Contents
- Installation Video
- Installation Instructions
- Collar Adjustment Instructions
- Troubleshooting
- Questions About the Install?
- Shop SL2 LED Bulbs at Ess K Customs
Installation Video
Installation Instructions
Step 1 — Remove the Stock Bulbs
Referencing your vehicle's owner manual or online resources, locate and remove your factory bulb. In most cases, the bulb must be disconnected from the factory electrical connector and turned counterclockwise to be removed.
Step 2 — Install the SL2 LED Bulbs
Install the SL2 LED bulbs into the bulb sockets and turn to lock into position. In some applications, fitment may be tight — ensure the tabs are aligned properly, push the bulb evenly and firmly into the socket, then apply adequate rotational force to lock it in place. If you have trouble, try adjusting or removing the red rubber o-ring and reinstalling.
Step 3 — Check Bulb Alignment
Make sure the bulb is aligned so the light shines out to the sides horizontally. If the SL2 is tilted at an angle, adjust the rotatable collar (see collar adjustment instructions below).
Step 4 — Reinstall the Factory Connector
Plug the factory connector into your SL2 LED bulb. If your order included Anti-Flicker modules, plug the Anti-Flicker module into the factory connector first, then connect the module to the SL2.
Step 5 — Test and Reassemble
Test for functionality. If the bulb doesn't illuminate, unplug the connector, flip it 180°, and reconnect — the bulb requires correct polarity. Once everything is working, reassemble any components you removed. The install is complete.
Collar Adjustment Instructions
Rotate the adjustment tabs protruding from the back of the SL2 LED bulb by hand to align the LEDs in a 9 and 3 o'clock position. This ensures the light shines out to the sides horizontally when installed. Avoid vertical alignment for optimal performance.
Troubleshooting
No Output: Disconnect the electrical connector, flip it 180°, and reinstall.
Incorrect Beam Pattern: Inspect the mounting position of the bulb in the lamp. In most cases, this is caused by misalignment or incorrect rotation. Make sure the bulb is vertically aligned in the socket and adjust the rotation if needed.
Flickering: If you experience flickering or a bulb-out error, you may need Anti-Flicker modules for your vehicle's electrical system. Contact Ess K Customs for assistance.
Fitment Issues: Confirm the SL2 bulb size matches your original bulb. If it seems too tight, carefully align the bulb straight with tabs in position, push firmly, and apply adequate rotational force. You may also try swapping the red o-ring with the one from your factory bulb.
Questions About the Install?
If you run into any issues during the installation, contact Ess K Customs — as an authorized Diode Dynamics dealer, we're here to help.
Shop SL2 LED Bulbs at Ess K Customs
Ready to upgrade your halogen bulbs? As an authorized Diode Dynamics dealer, Ess K Customs carries the full SL2 LED bulb lineup with full manufacturer warranty.