
The Stage Series Bed Light Kit for the 2022-2024 Toyota Tundra and 2024+ Tacoma adds rock lights and upgraded cargo lighting to your truck bed. This kit replaces and integrates with your factory bed lights for a clean, high-output setup. Here's the full walkthrough.
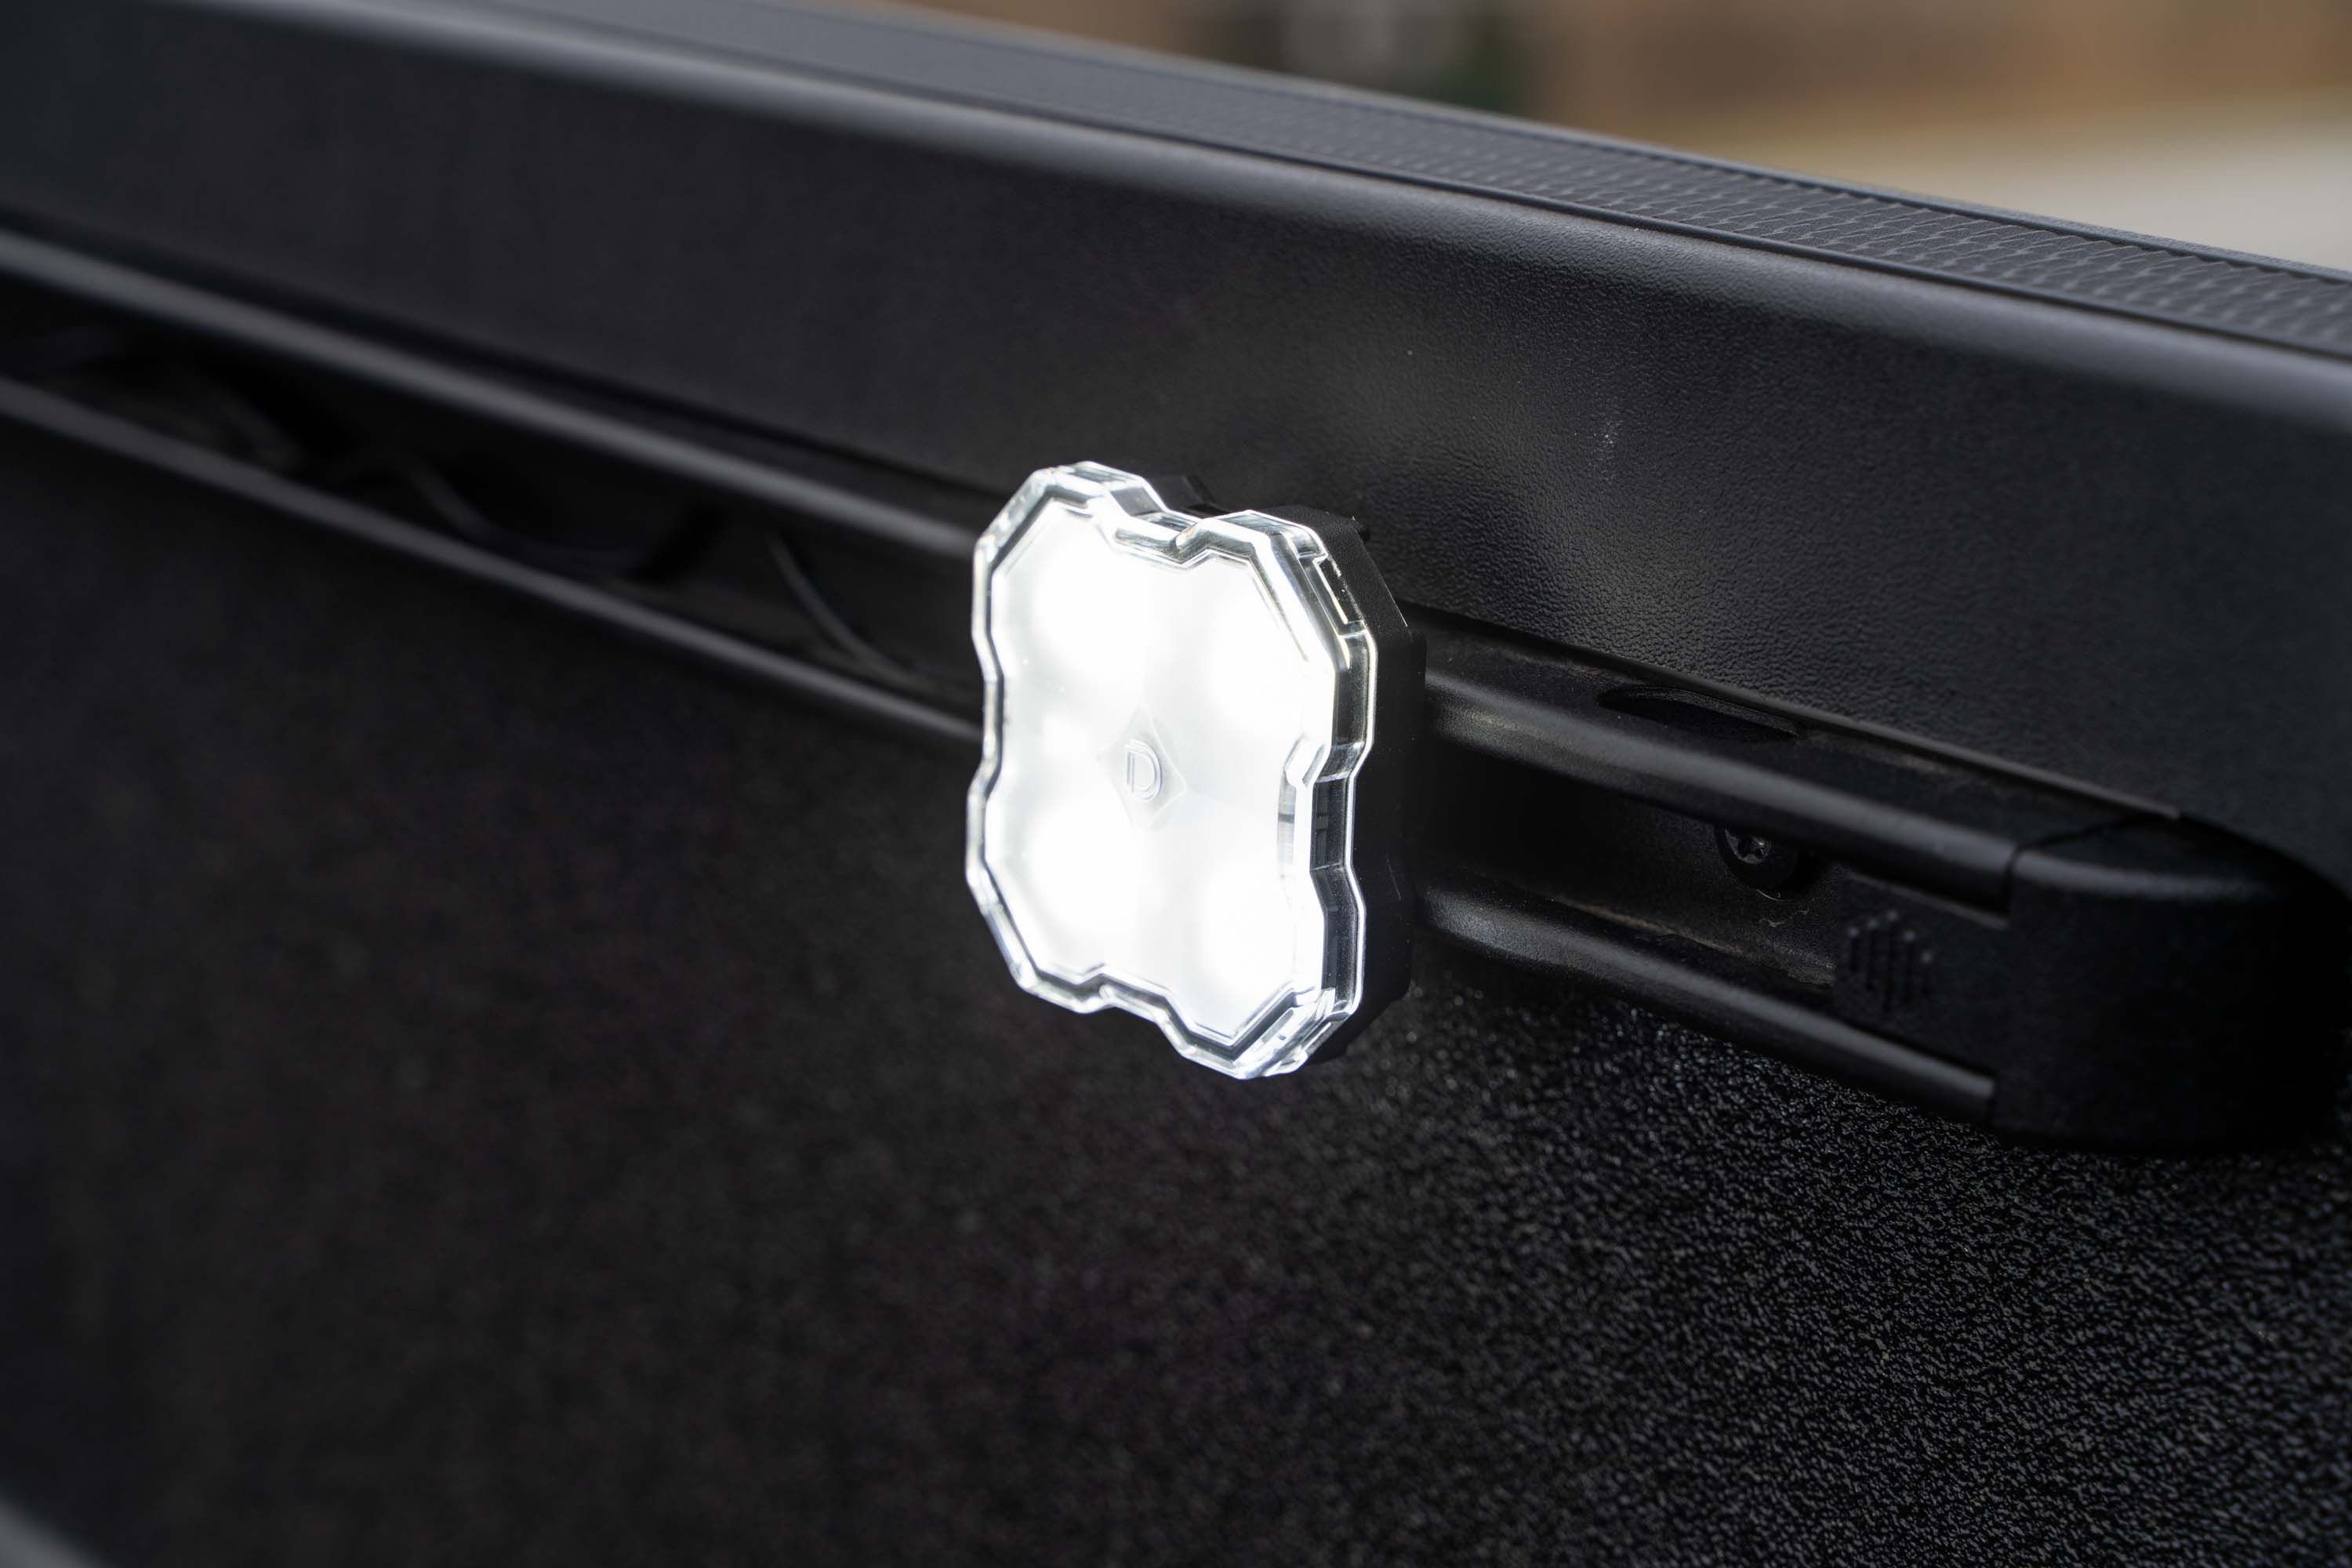
Table of Contents
- Installation Video
- Tools Required
- Installation Instructions
- Questions About the Install?
- Shop Tacoma and Tundra Lighting at Ess K Customs
Installation Video
Tools Required
- Pry tool / trim removal tool
- T30 Torx bit
- 5/32" Allen wrench
- Drill with step bit
- Flathead screwdriver
Installation Instructions
Step 1 — Remove Factory Bed Light (LH Side)
Remove the left-hand bed light by applying forward pressure and leveraging the assembly outward. Disconnect the assembly from the OE harness by depressing the lock and separating it.
Step 2 — Remove the Cargo Rail
Use a T30 Torx bit to remove the five screws holding the cargo rail. Slide the rail partially forward to release it from the alignment tab, then remove the rail. Use a pry tool to pull out the alignment tab.
Step 3 — Enlarge the Hole
Use a drill with a stepping bit to enlarge the alignment tab hole to 9/16". Repeat Steps 1-3 on the right-hand side.
Step 4 — Route Wire Leads
Feed the male side of the two M8 extension wires through the newly enlarged hole and out the pocket where the OE cargo light was. Feed the female side of the same two M8 extension wires through the cargo rail where the alignment tab was.
Step 5 — Reinstall the Cargo Rail
Using a T30 Torx bit, reinstall the cargo rail with the OE fasteners.
Step 6 — Connect the Splitter Harness
Connect the female M8 connectors on the harness to the male plugs on the two extensions by lining up the arrows and pressing together. Connect the male 2-pin connector on the harness to the OE cargo light connector, and the female 2-pin connector to the OE cargo light assembly. Configure the switch on the harness to your desired power level. Push the harness into the side rail cavity and reinsert the OE bed light. Repeat Steps 4-6 on the right-hand side.
Step 7 — Assemble the Rock Lights
Use a flathead screwdriver or trim removal tool to pry the lens from each rock light. Slide the washer onto the screw, push the screw into the center hole on the rock light, then thread the T-slot nut onto the screw with about 1/2" of space between the rock light and the nut. Repeat for all four rock lights.
Step 8 — Mount the Rock Lights
On the left-hand cargo rail, remove the rear end cap by depressing down and sliding rearward. Slide the T-slot nut into the cargo rail — make sure the rock light sits outside the rail and the M8 pigtail faces the OE cargo light. Find your desired mounting position (the T-slot nut cannot sit in or overlap the cargo rail notches). Secure the rock light with a 5/32" Allen wrench.
Step 9 — Reassemble and Connect Rock Lights
Reinsert the rubber seal and outer lens into the rock light. Reinstall the end cap. Connect the M8 connector on the rock light to the female M8 plug on one extension. Repeat for all four rock lights, installing each on either end of the cargo rails. Tuck excess extension wires into the bed rail cavity.
Step 10 — Test for Functionality
Test to ensure all bed lights and rock lights are working properly. The install is complete.
Questions About the Install?
If you run into any issues during the installation, contact Ess K Customs — as an authorized Diode Dynamics dealer, we're here to help.
Shop Tacoma and Tundra Lighting at Ess K Customs
Looking for lighting upgrades for your Tacoma or Tundra? As an authorized Diode Dynamics dealer, Ess K Customs carries genuine products with full manufacturer warranty.
Browse Tacoma Bed Light Kits at Ess K Customs →
This install guide applies to Diode Dynamics SKU: DD7948