
The C1R HitchMount LED Pod Reverse Kit for the 2015-2020 Ford F-150 and 2024-2025 Ford Raptor installs a C1R LED pod in your 2-inch trailer hitch receiver, adding a high-power reverse light, running light, and fourth brake light with SafetyStrobe. Here's the full installation walkthrough.
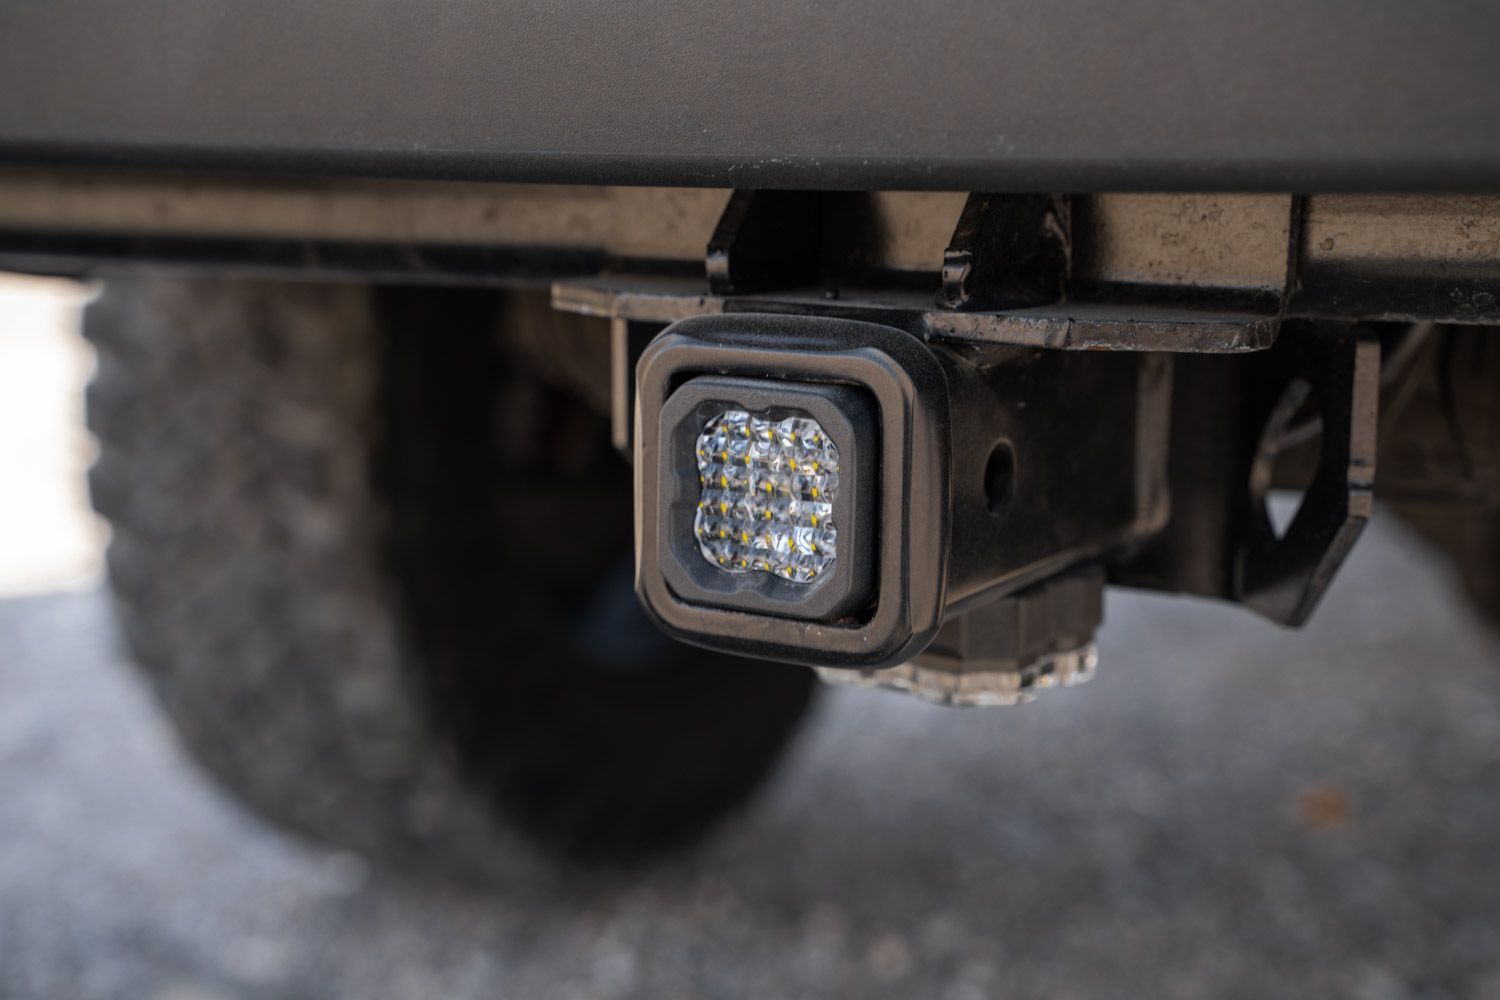
Table of Contents
- Installation Video
- Installation Instructions
- Optional: Using a Hitch Pin
- Questions About the Install?
- Shop F-150 Lighting at Ess K Customs
Installation Video
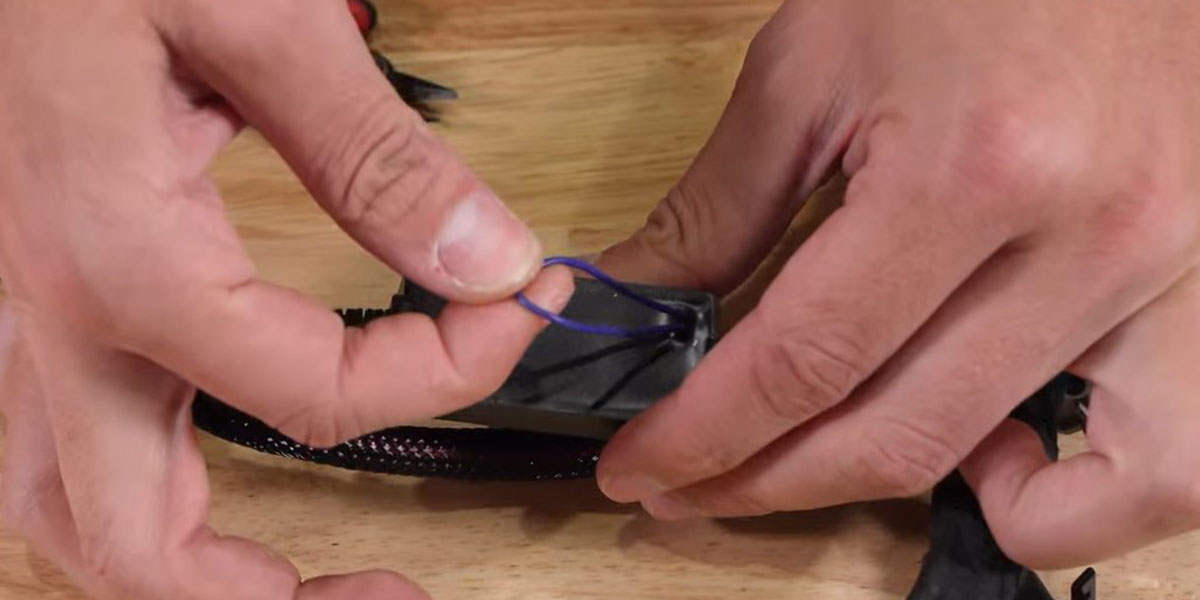
Note: This guide is for the C1R kit only. All HitchMount kits now include a custom-molded adapter sleeve for 2.5-inch receivers — set it aside if you have a standard 2-inch hitch. To disable the SafetyStrobe feature, cut the purple wire looped on the 7-pin harness.
Installation Instructions
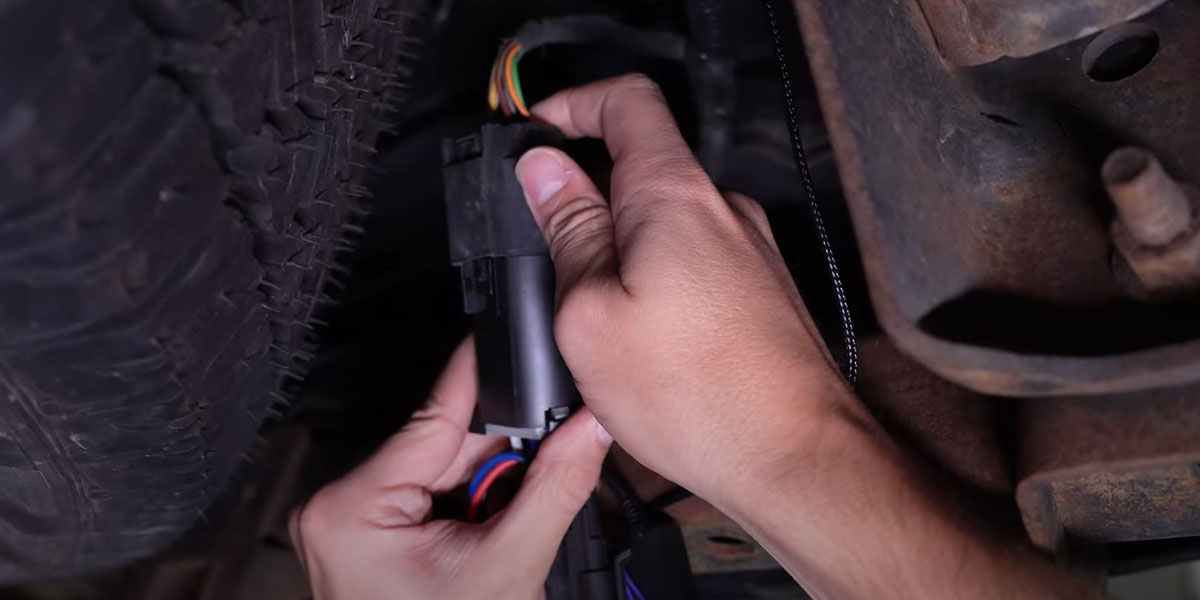
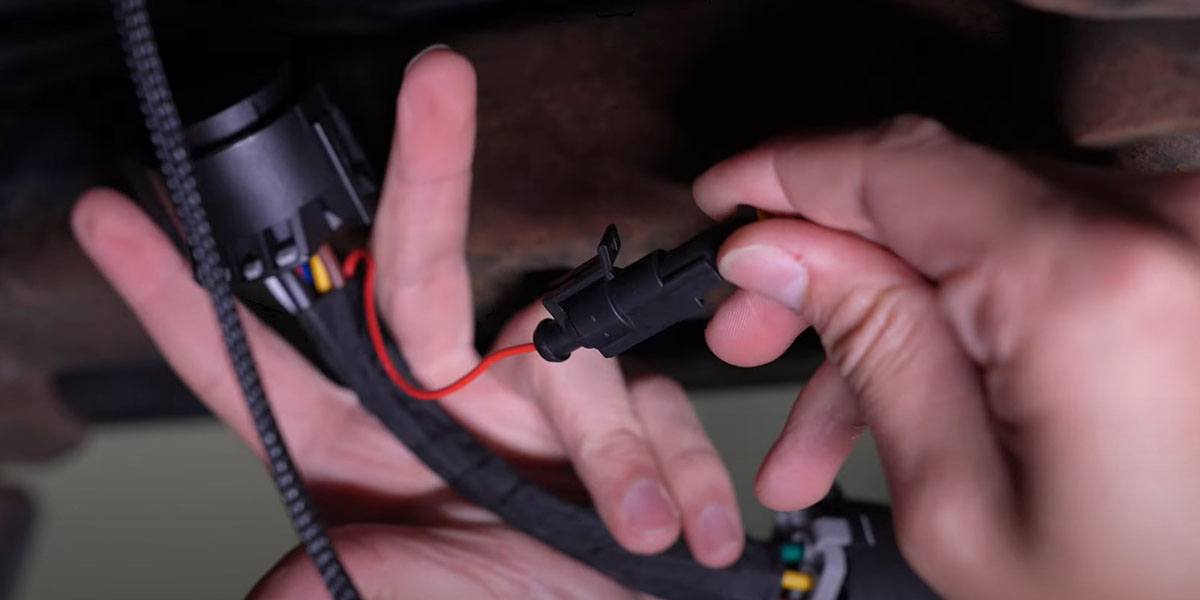
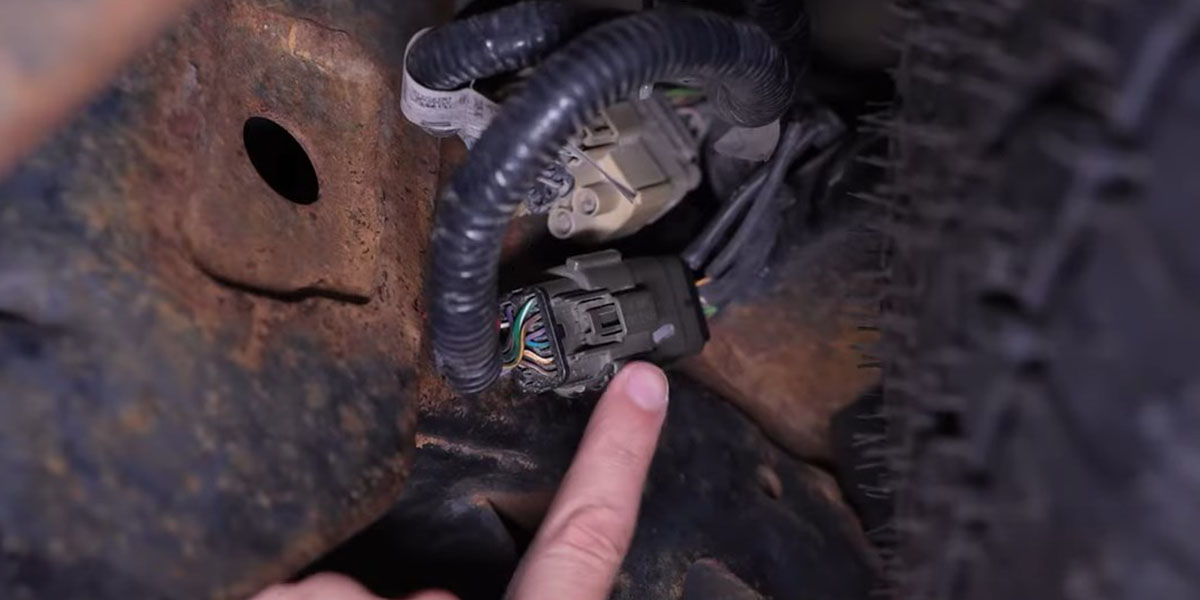
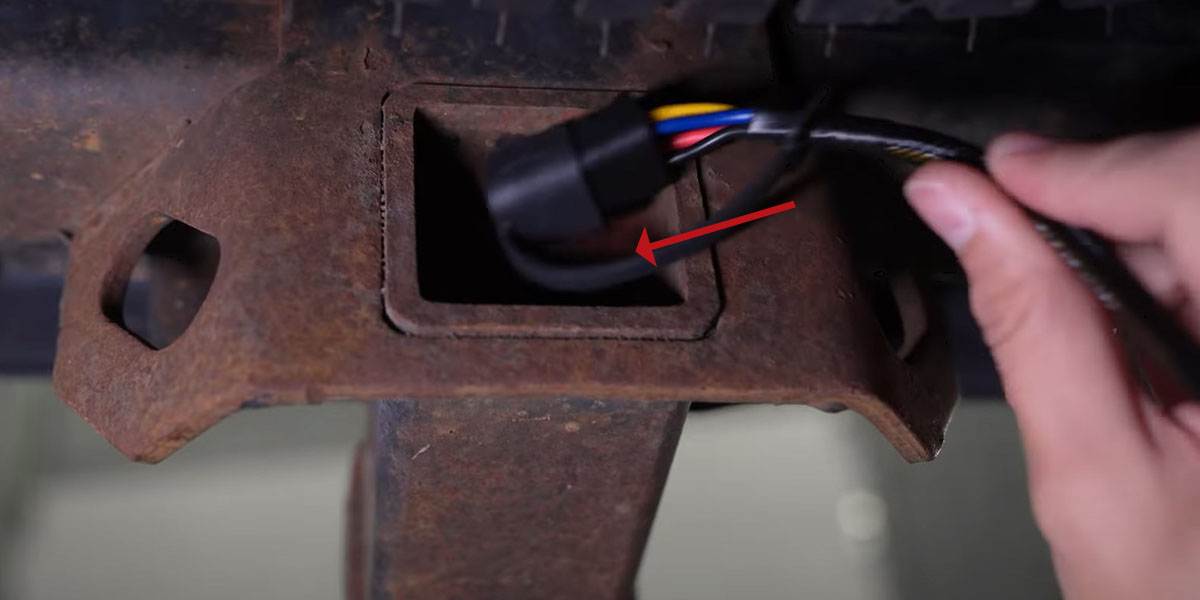
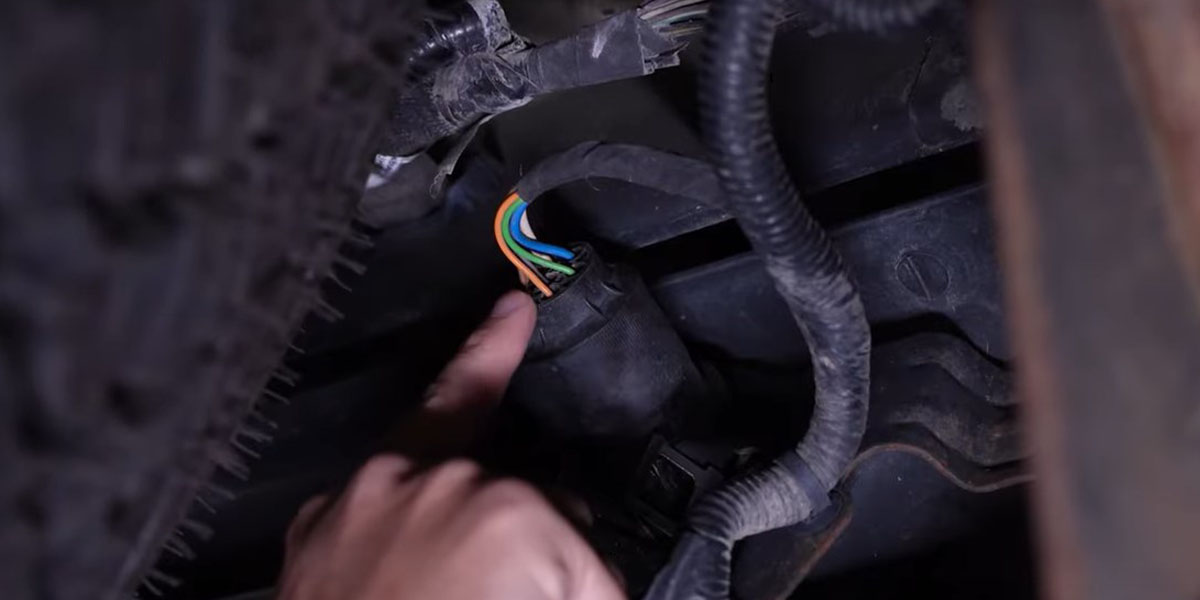
Step 1 — Connect Brake Signal and 7-Pin Harnesses
From under the vehicle, locate the connector for the factory brake signal harness on the driver's side frame next to the spare tire and disconnect it. Plug the new brake signal harness inline with the factory harness. Next, from underneath the bumper, disconnect the factory 7-pin trailer connector by depressing the locking tabs and pulling straight out. Remove the dust cap from the brake signal harness AMP connector and plug it into the new 7-pin connector harness. Plug the 7-pin harness connectors inline between the factory harness and the 7-pin connector on the back of the bumper.

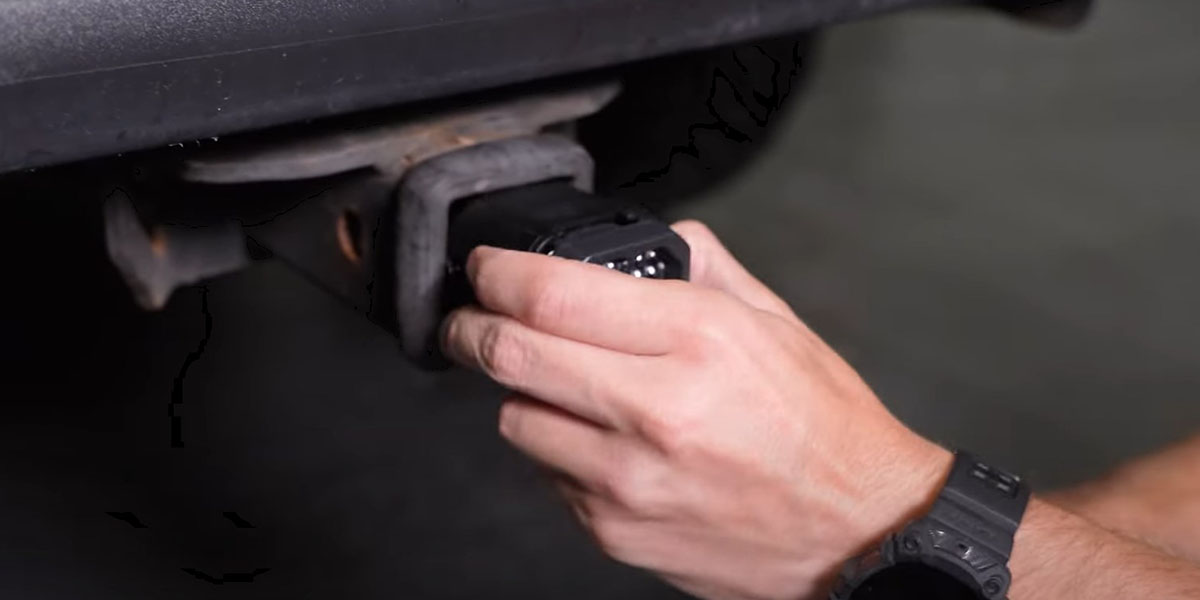
Step 2 — Install HitchMount LED Pod
Route the DT connector through the back of the trailer hitch receiver and zip tie any loose wiring clear of hot or moving parts. Remove the dust cap from the DT connector and plug it into the C1R LED pod. Push the HitchMount into the hitch receiver using the patent-pending snap-fit clip until it locks into place.

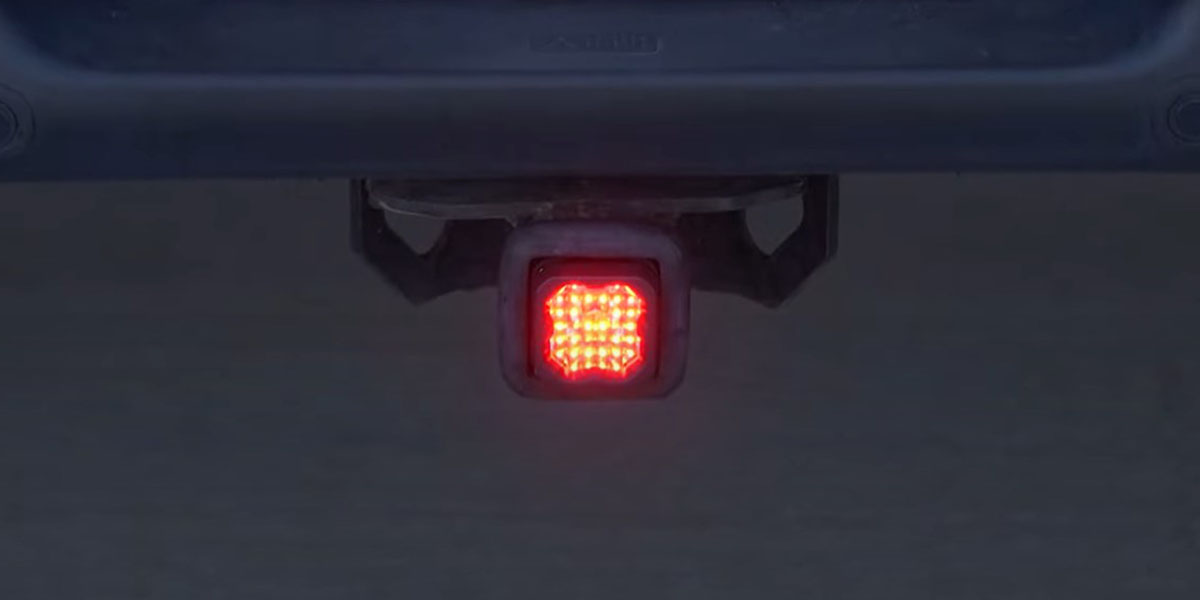
Step 3 — Test and Secure
Test all functions — reverse, running light, and brake light. Secure the wiring harness with the included zip ties to complete the installation.
Removing the HitchMount: Depress the clips on either side and apply forward pressure to slide the pod out. If disconnecting for an extended period, unplug the 7-pin and 12-pin connectors as well. Otherwise, reinstall the dust cap and tuck the DT connector away.
Optional: Using a Hitch Pin
The HitchMount stays securely in place during use, but you can add a locking hitch pin (not included) for extra security. Push each retention tab outward and cut out the circular section with a cutting tool. Repeat on both sides. Plug the DT connector into the pod, slide the HitchMount into the receiver, and insert the hitch pin while aligning with your other hand. The tight fit prevents rattling. This modification does not void the manufacturer warranty.
Questions About the Install?
If you run into any issues during the installation, contact Ess K Customs — as an authorized Diode Dynamics dealer, we're here to help.
Shop F-150 Lighting at Ess K Customs
Looking for lighting upgrades for your 2015-2020 Ford F-150 or 2024-2025 Ford Raptor? As an authorized Diode Dynamics dealer, Ess K Customs carries genuine products with full manufacturer warranty.
Browse F-150 HitchMount Kits at Ess K Customs →
This install guide applies to Diode Dynamics SKU: DD7648