
Upgrade the front-end lighting on your 2015-2017 Subaru WRX or STi with the LED Driving Light Kit. Designed to integrate cleanly using factory mounting points, this kit delivers powerful, road-legal illumination while maintaining an OEM-style appearance. This guide walks through the full installation process.
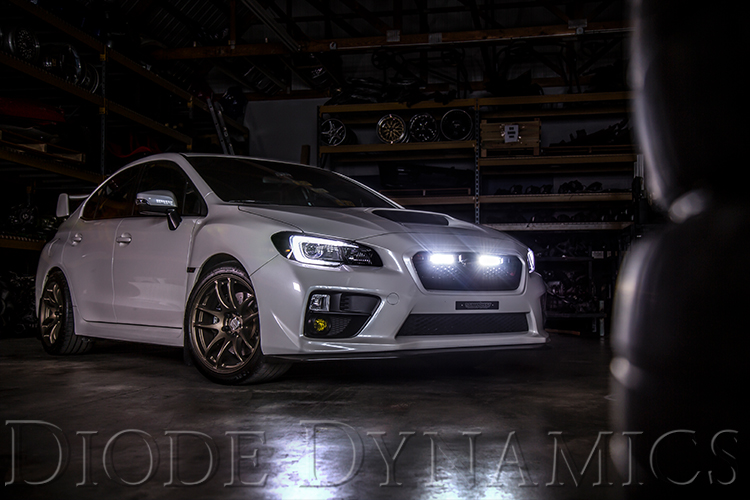
Table of Contents
Installation Tools
- 10mm socket wrench
- 12mm socket wrench
- Plastic trim removal tool
Time required: Approximately 1-2 hours.
Installation Instructions
Step 1 – Remove upper bumper hardware. Using a 10mm socket and a plastic trim removal tool, remove the six bolts and four plastic rivets along the top edge of the bumper inside the engine bay.
Step 2 – Remove lower and side fasteners. Remove the plastic rivet between the fender and bumper on each side, then remove the six plastic rivets underneath the bumper.
Step 3 – Detach the bumper. With all bolts and rivets removed, detach the bumper by pressing the clips along the side below each headlight. Pull the bumper straight back and set it aside on a soft surface.
Step 4 – Remove factory mounting bolts. Locate and remove the 12mm bolt in the center and the two 10mm bolts on the sides of the mounting area.
Step 5 – Attach light bars to the bracket. Using the included hardware, attach both LED light bars to the bracket. Hand-tighten only at this stage to allow for final adjustment.
Step 6 – Install the bracket assembly. Mount the bracket assembly using the factory mounting points and reinstall the original bolts. Hand-tighten to allow adjustment for proper bumper fitment. Note: If you have the newer Stage Series Light Bars, an extra adapter bracket must be installed first.
Step 7 – Mount the switch. Choose a suitable location for the switch and route the wiring harness. This may require routing through the firewall. Unplug the toggle switch for easier routing, drill an appropriately sized hole, then reconnect and mount the switch.
Step 8 – Connect the wiring harness. Connect the harness to the light bars, then route it to the battery. Avoid moving parts or areas with excessive heat, and follow factory wiring paths where possible.
Step 9 – Connect to the battery and finalize. Loosen the 12mm and 10mm nuts on the battery terminals. Connect the black wire to the negative terminal and the red wire to the positive terminal. Align the light bars, test operation, then reinstall the factory bumper to complete the installation.
Shop WRX/STi LED Driving Light Kits at Ess K Customs
Ready to add LED driving lights to your 2015-2017 Subaru WRX or STi? As an authorized Diode Dynamics dealer, Ess K Customs carries the full WRX/STi LED Driving Light Kit with full manufacturer warranty. Contact us if you have questions about the installation or need help with fitment.