
The LED Driving Light Kit for the 2014-2021 Toyota Tundra mounts a pair of Stage Series 12" LED light bars behind the factory grille for a substantial increase in focused light output. These light bars are street-legal for on-road use as auxiliary driving lights or supplemental SAE fog lights, and include a plug-and-play high-beam adapter for control through the factory high-beam switch. CAD-designed brackets bolt to factory mounting points — no cutting or drilling required. Here's the full walkthrough.
Table of Contents
- Installation Video
- Tools Required
- Mounting Instructions
- Wiring Instructions
- Questions About the Install?
- Shop Tundra Lighting at Ess K Customs
Installation Video
Tools Required
- 10mm socket
- Flathead screwdriver or plastic trim removal tool
Mounting Instructions
Step 1 — Remove the Grille
Using a 10mm socket wrench and plastic trim removal tool, remove the four 10mm bolts and two plastic rivets from the edge of the grille inside the engine bay. Pull up and forward on the top of the grille to release it from the tabs. Reach behind each headlight and push down on the long pointed tab holding the bottom of the grille while pulling forward. Set the grille aside on a soft surface.
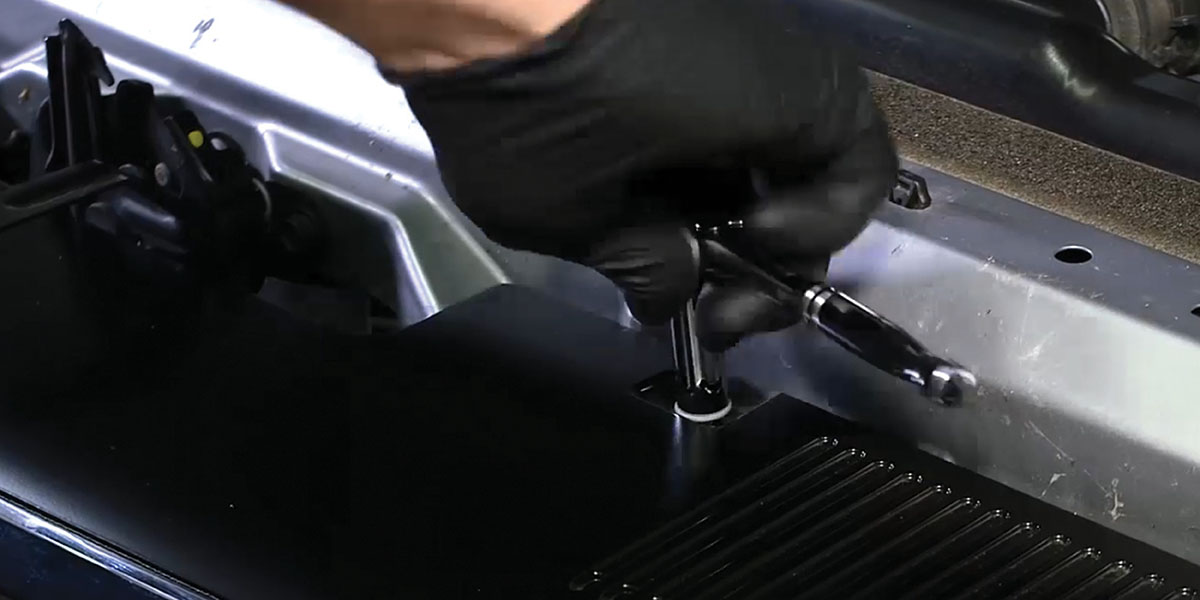
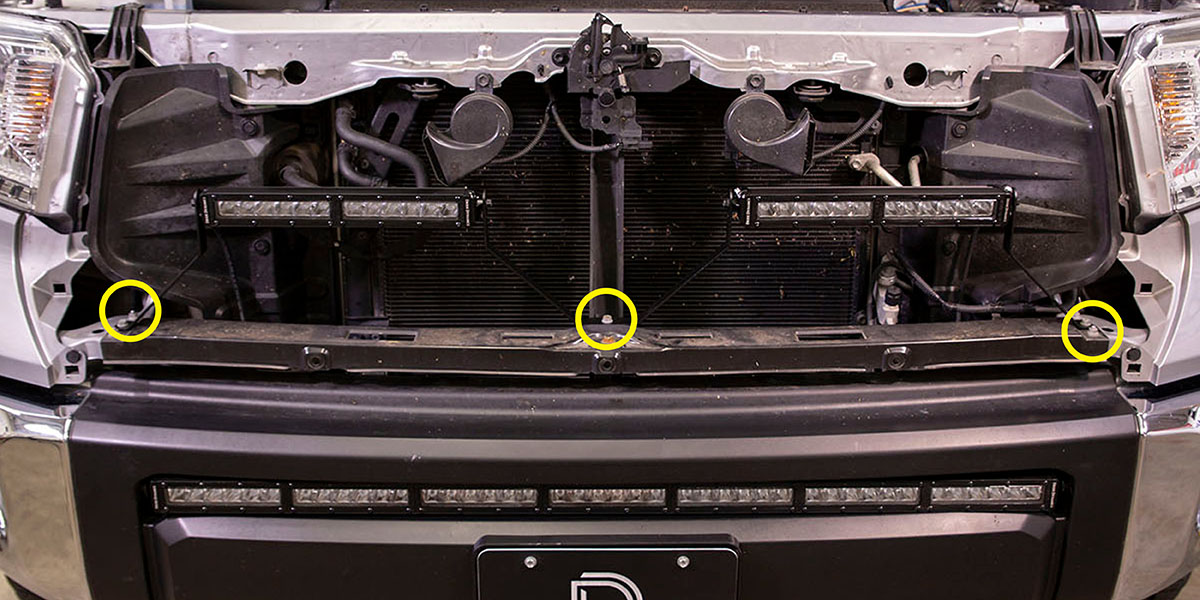
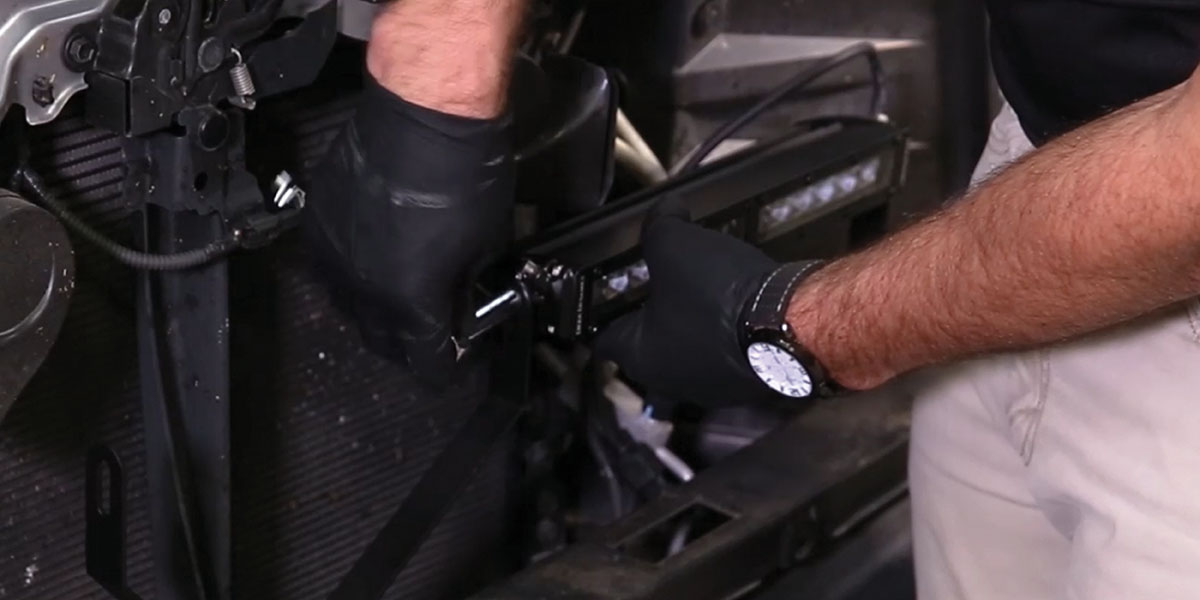
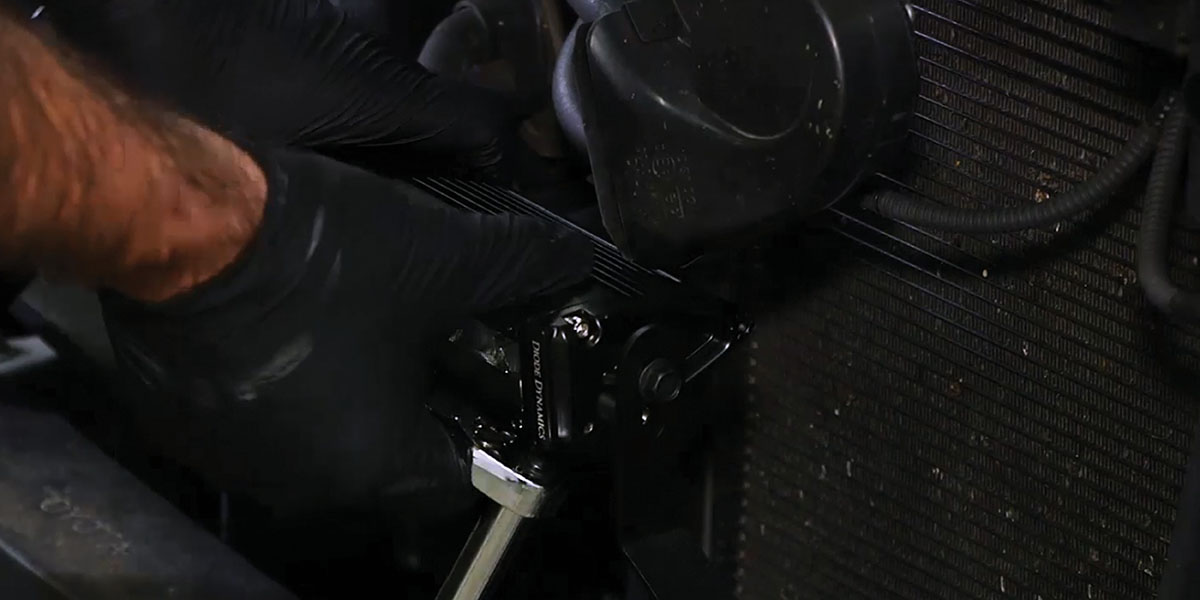
Step 2 — Mount the Brackets and Light Bars
Locate and remove the three 10mm bolts at the factory mounting points. Mount the included brackets using those same bolts. Attach the 12" Stage Series LED light bars to the brackets using the included hardware, hand-tight only for aiming adjustment.

Wiring Instructions
The following instructions are for Tundras with an Auxiliary Switch Bank. If you don't have one, use the included toggle switch adapter wire to route a switch, or use the included high-beam adapter wire to connect to the factory high beams. All power sources must be fused.
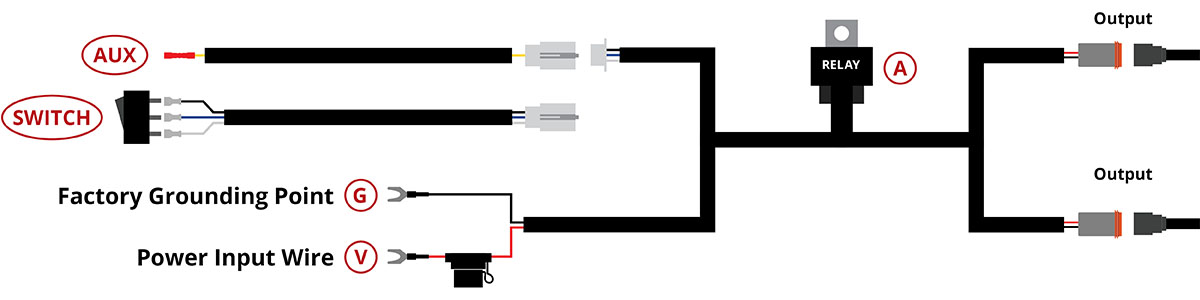
Step 3 — Mount the Relay and Connect Power
Mount the relay near the battery or main power terminal. Connect the red power input wire to the positive battery terminal and the black ground wire to the negative battery terminal or a factory grounding point.
Step 4 — Connect the Switch
At the white connector, unplug the switch wires from the harness and connect the extra pigtail instead. Using the butt connector at the end of the pigtail, crimp the yellow wire to an OEM Auxiliary Switch wire lead. Power is drawn from the battery, so any OEM Auxiliary Switch wire can be used regardless of amperage rating.
Step 5 — Route, Test, and Reassemble
Route the output wires to the LED light bars, avoiding moving parts and direct contact with heat sources. Plug the output connectors into the light bars. Test to confirm proper operation and aim the light bars. Replace the grille using the original hardware. The install is complete.
Questions About the Install?
If you run into any issues during the installation, contact Ess K Customs — as an authorized Diode Dynamics dealer, we're here to help.
Shop Tundra Lighting at Ess K Customs
Looking for lighting upgrades for your 2014-2021 Toyota Tundra? As an authorized Diode Dynamics dealer, Ess K Customs carries genuine products with full manufacturer warranty.
Browse Tundra Driving Light Kits at Ess K Customs →
This install guide applies to Diode Dynamics SKUs: DD6064, DD6065, DD6067, DD6068