
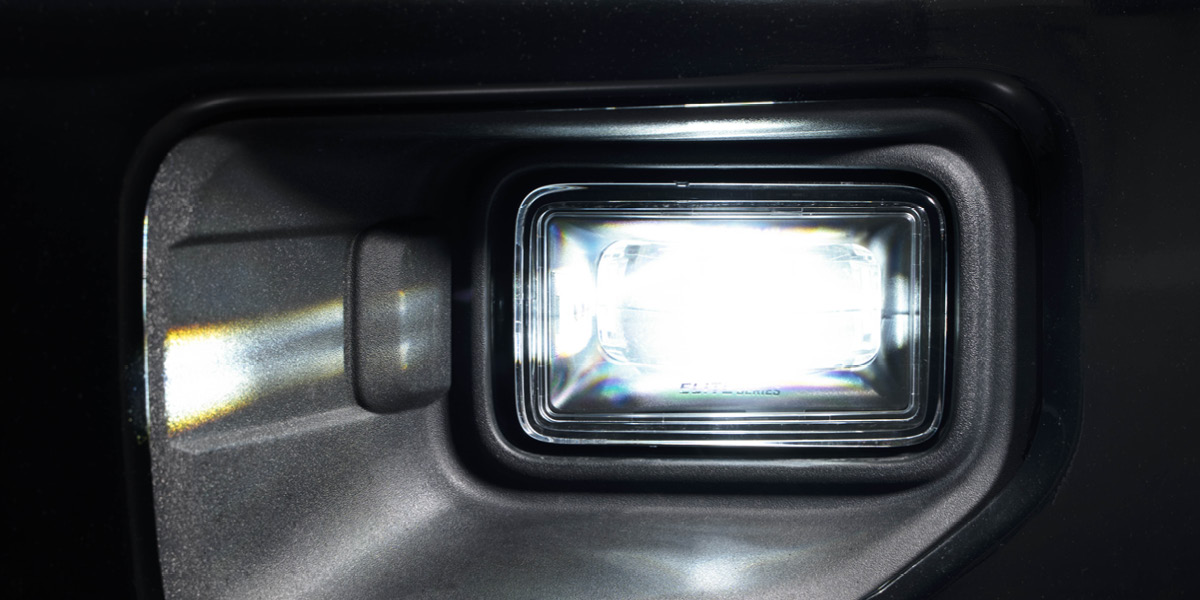
The Elite Series Type F2 LED Fog Light for the 2015-2020 Ford F-150 and 2017-2022 Ford Super Duty doubles the light output of factory halogen fog lights with a sharp, asymmetric beam pattern. Direct plug-and-play replacement — no cutting or drilling. Here's the full installation walkthrough.
Table of Contents
- Installation Video
- Tools Required
- Mounting Instructions
- Aiming Instructions
- Questions About the Install?
- Shop Ford Fog Lights at Ess K Customs
Installation Video
Tools Required
- Plastic trim removal tools
- 90° hook pick
- Flat head long screwdriver
- Pliers (optional)
Mounting Instructions
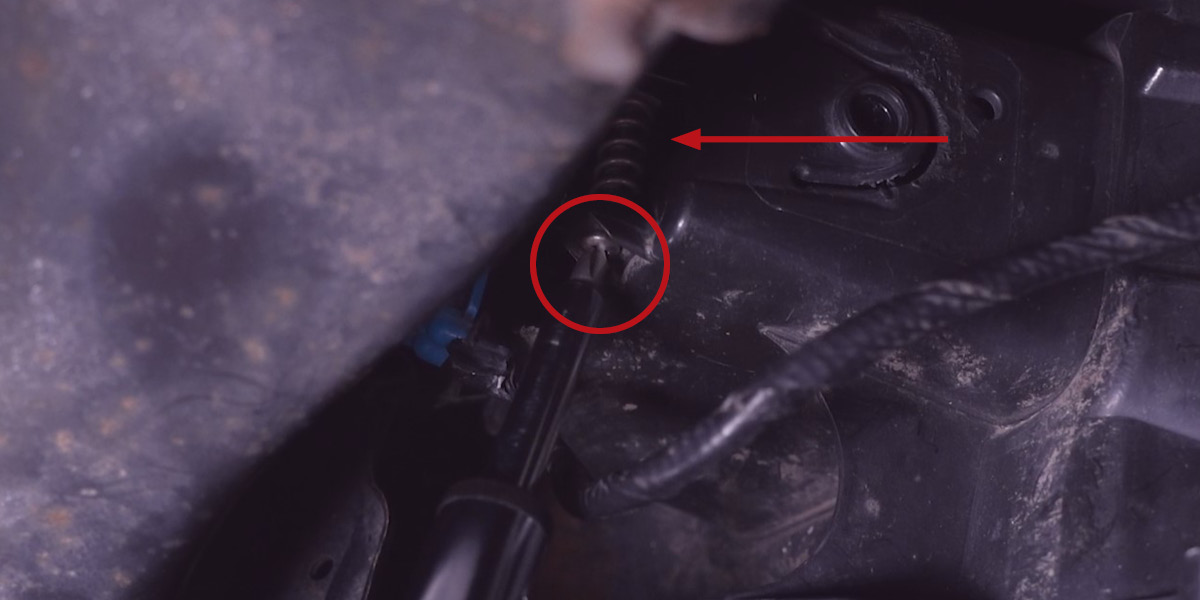
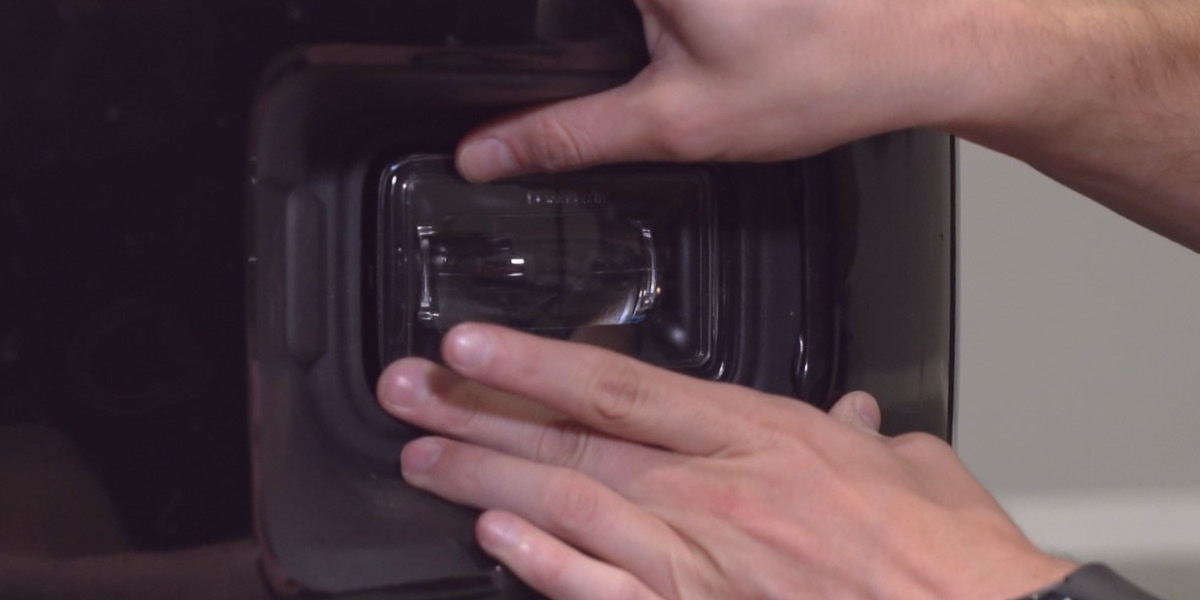
Step 1 — Remove Factory Fog Light Assembly
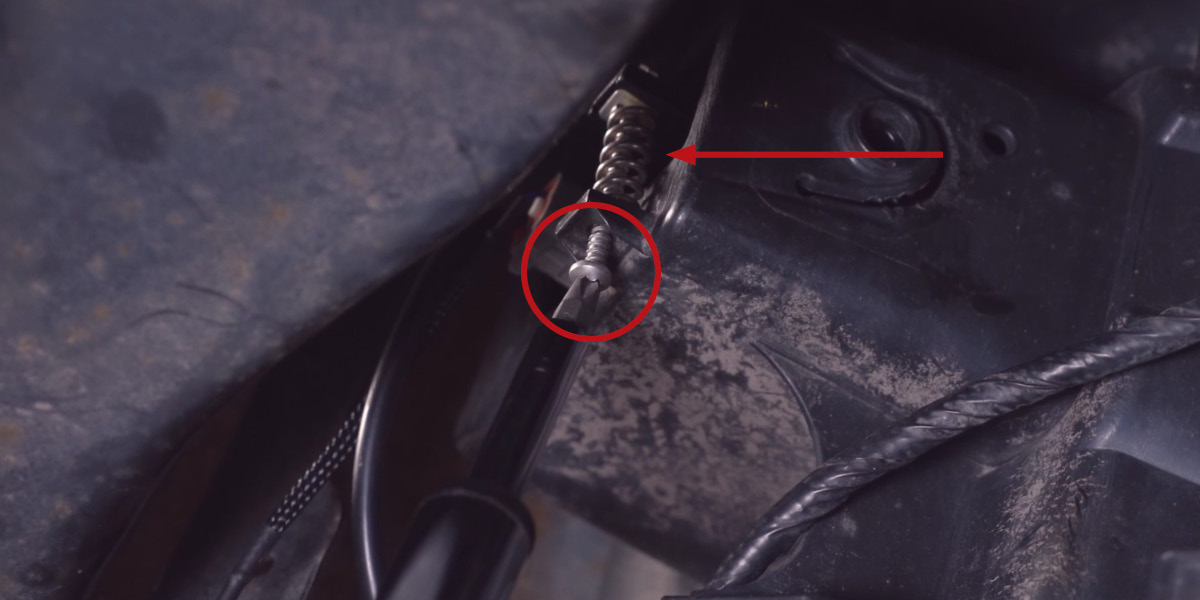
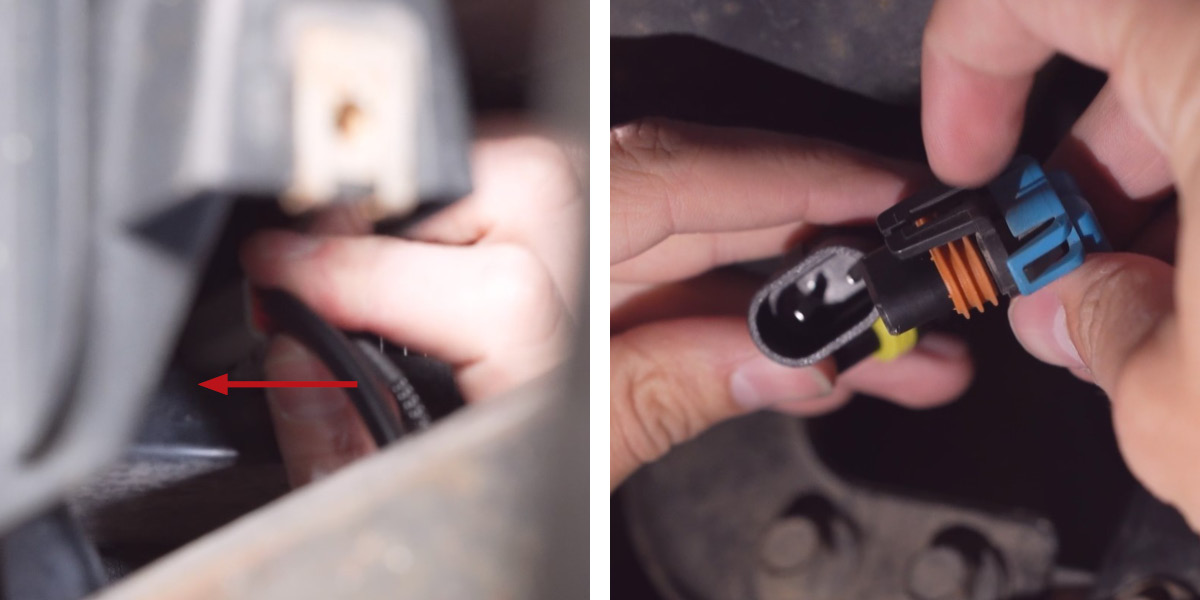
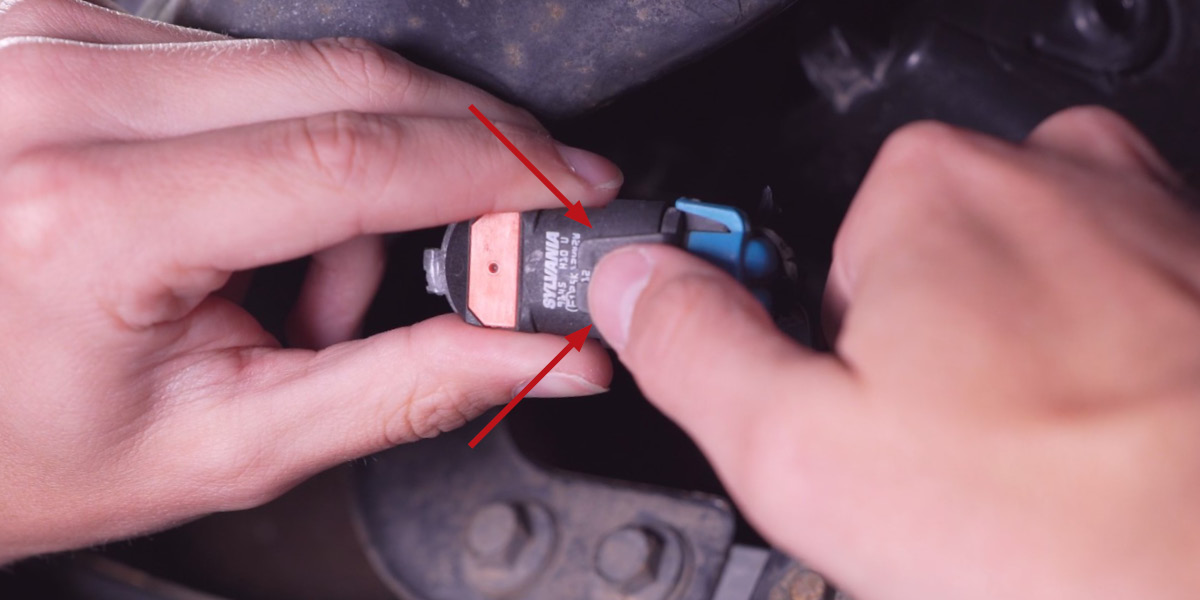
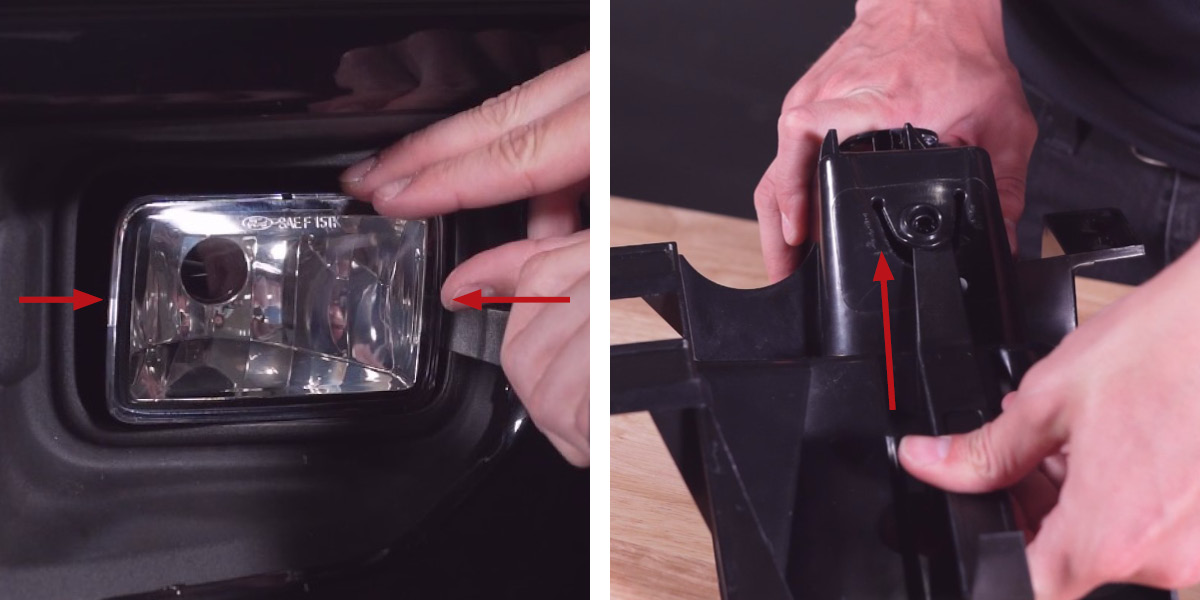
Reach up from underneath the front bumper and locate the factory fog light housing behind the front air dam. Using a long flat-head screwdriver, remove the leveling screw by turning counterclockwise (the spring will fall free when removed — save both). Remove the factory fog bulb by rotating counterclockwise about 45° and pulling backward. Disconnect the bulb from the harness by prying the two prongs up and away from the retaining clip. Using a plastic pry tool, work both sides of the assembly from the front until the retaining clamps release (or use a 90° hook pick from behind). Pull the assembly away from the vehicle.
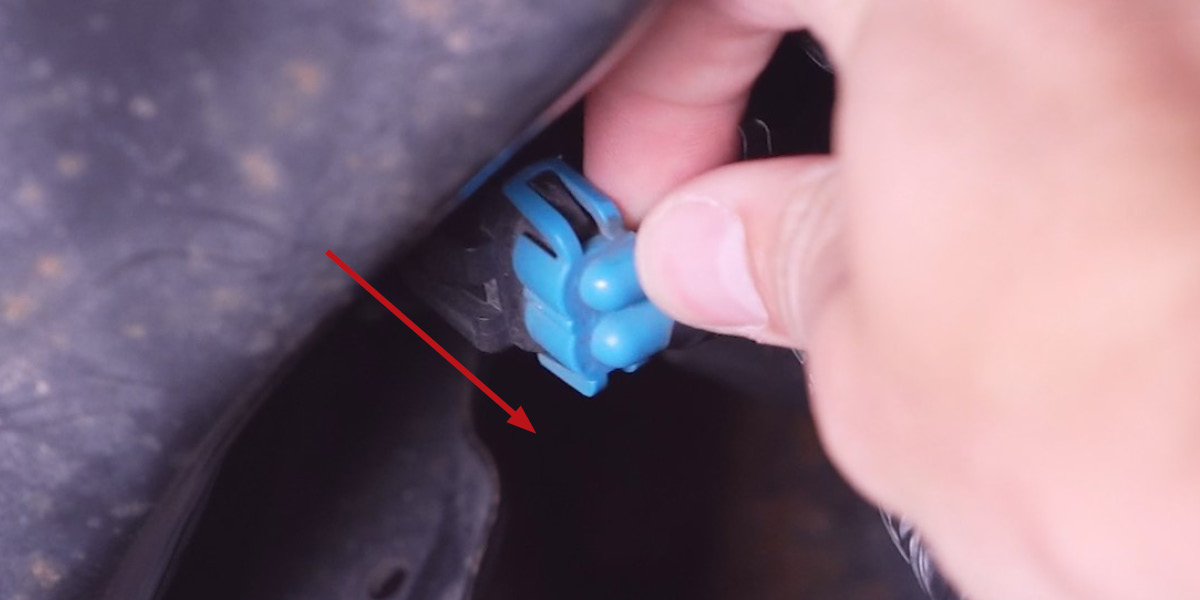
Step 2 — Install Elite Series Fog Light
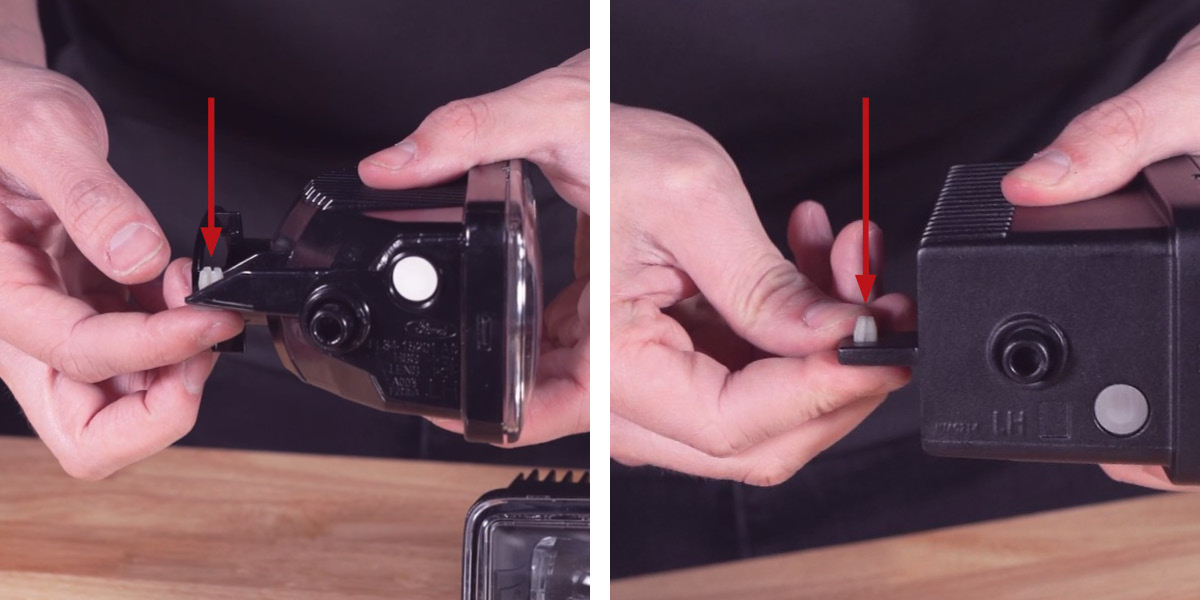
Transfer the plastic adjusting nut from the factory assembly to the Elite Series assembly. Insert the Elite Series assembly into the bezel, making sure both left and right retaining clamps snap firmly into place. Connect the supplied gray 4-pin Deutsch connector to the back of the Elite Series assembly, then plug the black 9006 2-pin connector into the factory harness. Reinstall the factory leveling screw and spring — make sure the spring sits between the factory housing tab and the Elite Series tab.
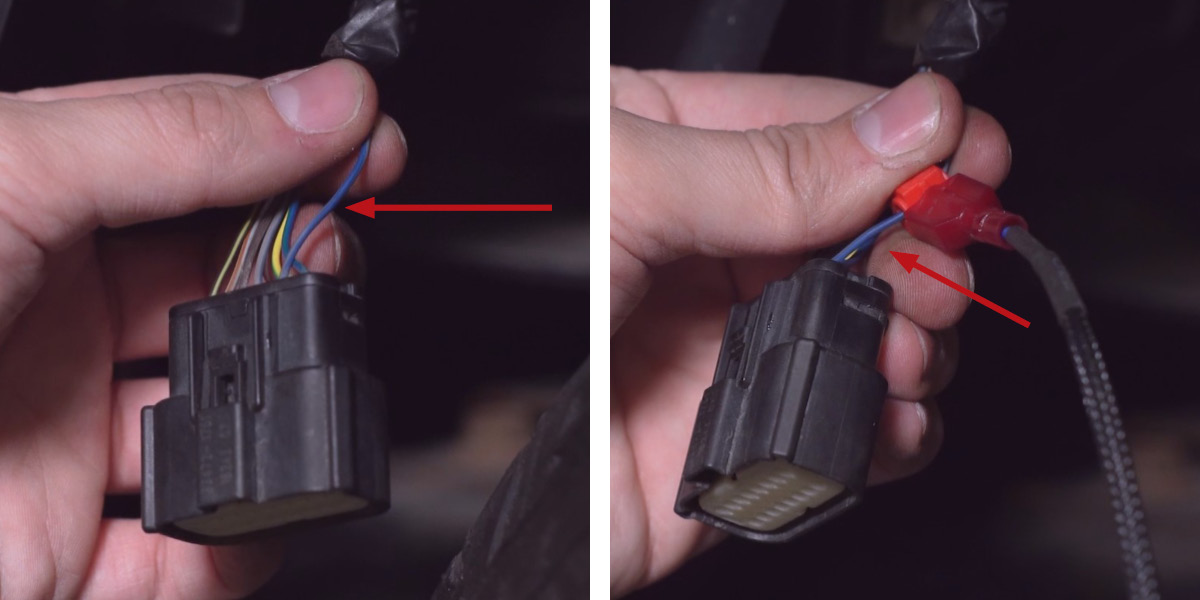
Step 3 — Connect Backlight and Test
Test fog light function — if the lights don't illuminate, unplug the 9006 connectors, flip 180°, and reconnect. For the backlight feature, connect the backlight power wire to a fused 12V source (such as your DRL or side marker circuit) using the included T-taps. Note: The power source must be fused — do not connect directly to the battery. Check local laws for on-road use of the backlight. Repeat on the opposite side.
Aiming Instructions
Aiming Video:
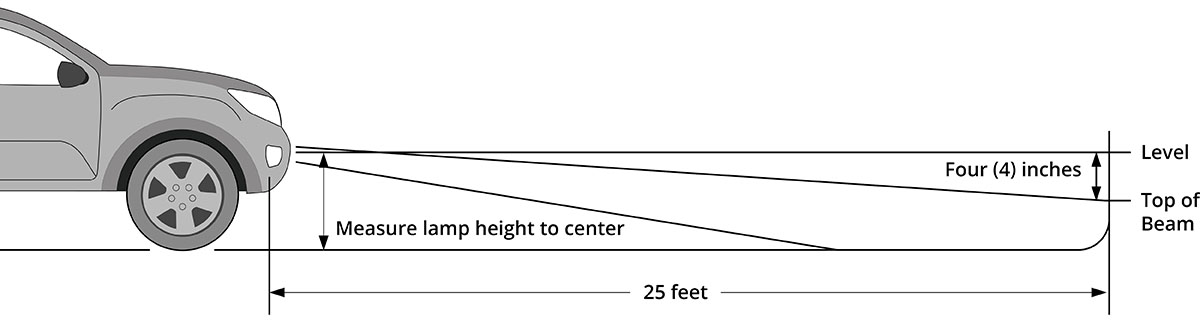
Step 1 — Park on a level surface 25 feet from a wall or garage door.
Step 2 — Measure the distance from the ground to the center of your fog lamp (mounting height).
Step 3 — Mark the mounting height on the wall with tape.
Step 4 — Add a second piece of tape four inches below — this is your fog light cutoff line.
Step 5 — Using the integrated adjustment screw, aim each fog light so the top of the beam pattern aligns with the cutoff line.
Questions About the Install?
If you run into any issues during the installation, contact Ess K Customs — as an authorized Diode Dynamics dealer, we're here to help.
Shop Ford Fog Lights at Ess K Customs
Ready to upgrade your 2015-2020 Ford F-150 or 2017-2022 Super Duty fog lights? As an authorized Diode Dynamics dealer, Ess K Customs carries the Elite Series with full manufacturer warranty.
Browse Elite Series F-150/Super Duty Fog Lights at Ess K Customs →
This install guide applies to Diode Dynamics SKUs: DD5171P, DD5174P