
The 2024+ Ford Mustang GT doesn't come with factory fog lights, but the Diode Dynamics Add-On Fog Light Kit changes that. This kit mounts two SAE-compliant LED fog lamps in the factory bumper with custom-designed bezels for an OEM-like appearance. Available with Elite Series or SS3 fog lamps. Here's the full walkthrough.
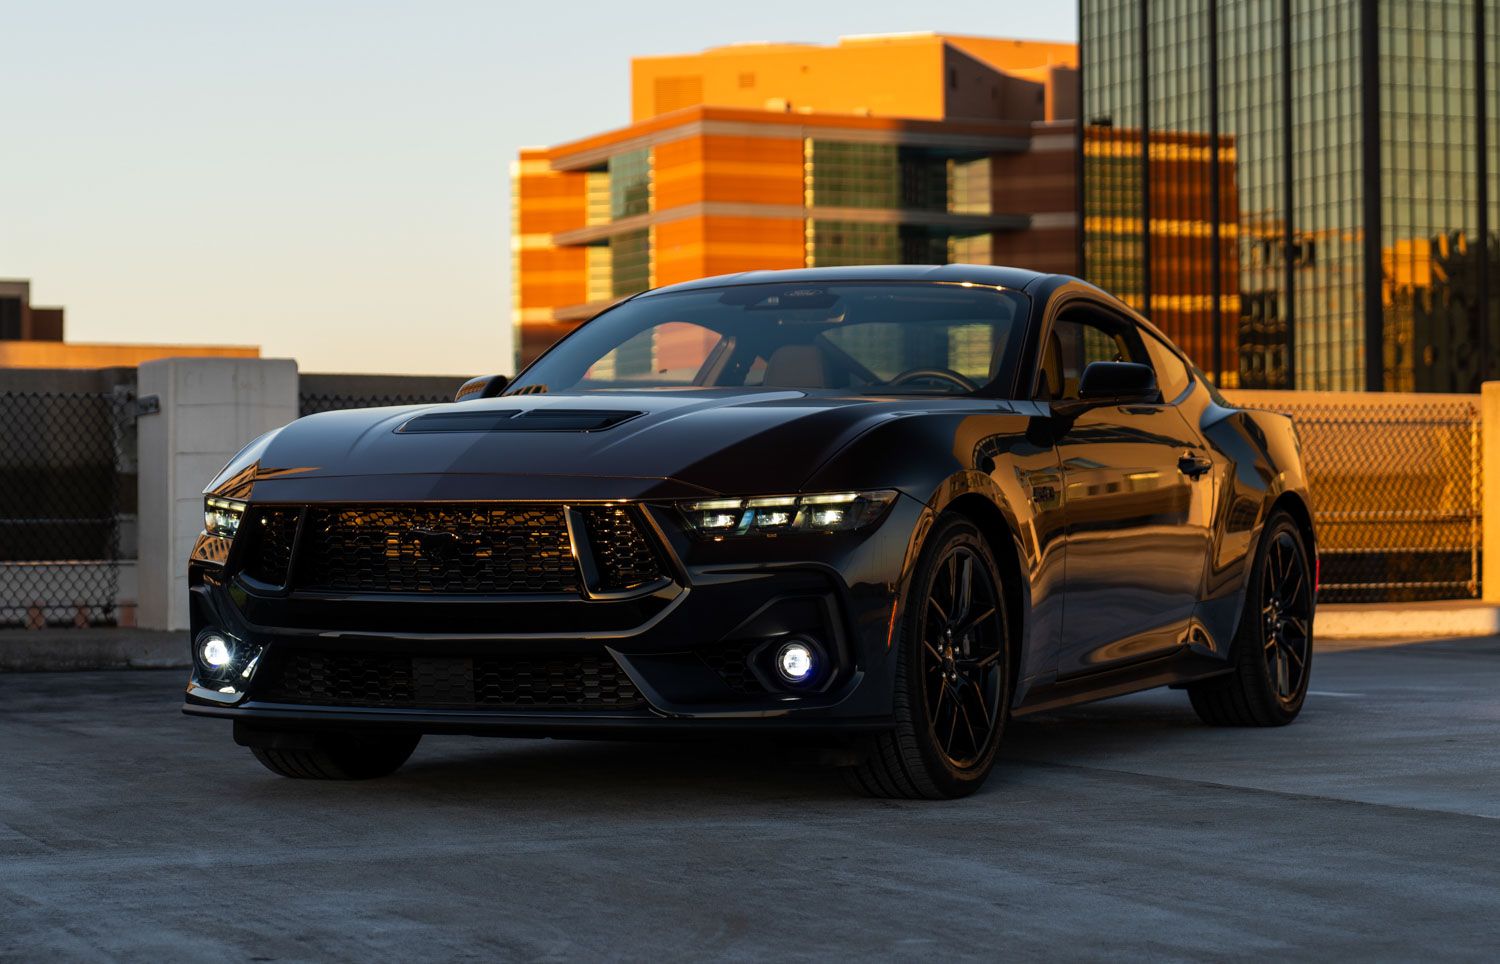
Table of Contents
- Installation Video
- Tools Required
- What's Included
- Installation Instructions
- Questions About the Install?
- Shop Mustang Lighting at Ess K Customs
Installation Video
Tools Required
- 7mm socket
- 8mm socket
- 10mm socket
- 13mm socket
- Trim removal tool
- Phillips head screwdriver
- 5/32-inch Allen wrench
What's Included
- Two Elite Series or SS3 Type A fog lamps
- Two vehicle-specific fog lamp bezels
- One add-on fog harness
- One fog lamp aiming tool (GT only)
- Four zip ties
- Hardware kit
Installation Instructions
Step 1 — Prepare the Engine Bay
Remove the engine cover by using a trim removal tool to remove eight push pins. Set the cover aside.
Step 2 — Remove the Top Bumper Screws
Using a 7mm socket, remove the seven screws at the top of the bumper. Partially detach the weather stripping from the T-clip near each headlight for better access.
Step 3 — Remove the Fender Liners
In both wheel wells, use a trim removal tool to remove five push pins per side. Push the fender liner back and use a 10mm wrench to remove the two screws securing the bumper to the corner panel. Detach the bumper from the corner panel with a trim removal tool. Repeat for both sides.
Step 4 — Remove the Bottom Bumper Screws and Shield
Underneath the vehicle, use a 7mm socket to remove 22 screws securing the lower bumper. Remove three push pins and slide the shield rearward. If your Mustang has brake ducts, remove the three push pins on both sides and slide the ducts rearward to remove them.
Step 5 — Disconnect and Remove the Bumper
Disconnect the side markers on both sides and the multi-pin connector behind the driver-side fog pocket. Lift the bumper off the five hangers at the top and pull it away. Place it on a padded surface.
Step 6 — Prepare the Fog Light Bezels
If equipped with corner grille backer plates, remove them with a 7mm socket. For vehicles with a driver-side air duct, remove it the same way. Release the corner grilles by depressing the white safety pins and applying outward pressure on each clip. For SS3 pods, assemble with the Type A bracket using the 5/32-inch Allen screws, then secure the pod to the bezel with the included screws. For Elite Series lamps, secure with the included screws and use the aiming tool to adjust before installation. Repeat for both sides.
Step 7 — Install the Fog Light Bezels
Install the assembled bezels into the bumper. Ensure all plastic tabs are aligned, press firmly to seat the bezel, and reinsert the white safety pin to lock it in place. Repeat for the other side.
Step 8 — Connect the Fog Light Harness
Partially remove the passenger-side headlight using 13mm and 10mm sockets. Pull it out and disconnect the multi-pin connector. Add the fog light harness in-line. Route the positive and negative leads toward the battery. Reinstall the headlight. Plug the fog light harness into the factory side marker harness. Secure the solid-state relay away from hot or moving parts. In the engine bay, loosen the battery terminals with 8mm and 10mm sockets and connect the harness leads.
Step 9 — Route and Connect the Fog Lights
Route the longer DT output lead across the subframe to the driver-side fog pocket. Hang the bumper back on the vehicle, ensuring it seats properly on the hangers. Reconnect the side markers, multi-pin connectors, and DT output leads to the fog lights.
Step 10 — Test and Finalize
Test the fog lights — the amber backlight should activate with parking lights, and the main beam should turn on with low beams. Adjust aim using a Phillips head screwdriver. Secure all loose wiring with zip ties and reassemble the vehicle. The install is complete.
Aiming Note: On standard GT models, the adjuster can be accessed by peeling back the fender liner or from underneath with the underbody tray removed. On GT models with the Performance Package, the oil cooler may limit access to the left-hand adjuster — refer to the installation video for the recommended aiming process.
Questions About the Install?
If you run into any issues during the installation, contact Ess K Customs — as an authorized Diode Dynamics dealer, we're here to help.
Shop Mustang Lighting at Ess K Customs
Looking for lighting upgrades for your 2024+ Ford Mustang? As an authorized Diode Dynamics dealer, Ess K Customs carries genuine products with full manufacturer warranty.
Browse 2024+ Mustang Lighting at Ess K Customs →
This install guide applies to Diode Dynamics SKUs: DD7968, DD7969, DD7970, DD7971, DD7972, DD7973, DD7974, DD7975