

The 4th Brake Light Kit for the 2013–2017 Subaru Crosstrek adds a high-intensity center-mounted brake light to improve rear visibility and safety. This is a bolt-on install with no permanent vehicle modifications. Here's the full walkthrough.
Watch the full install video below, or scroll down for the step-by-step written guide.
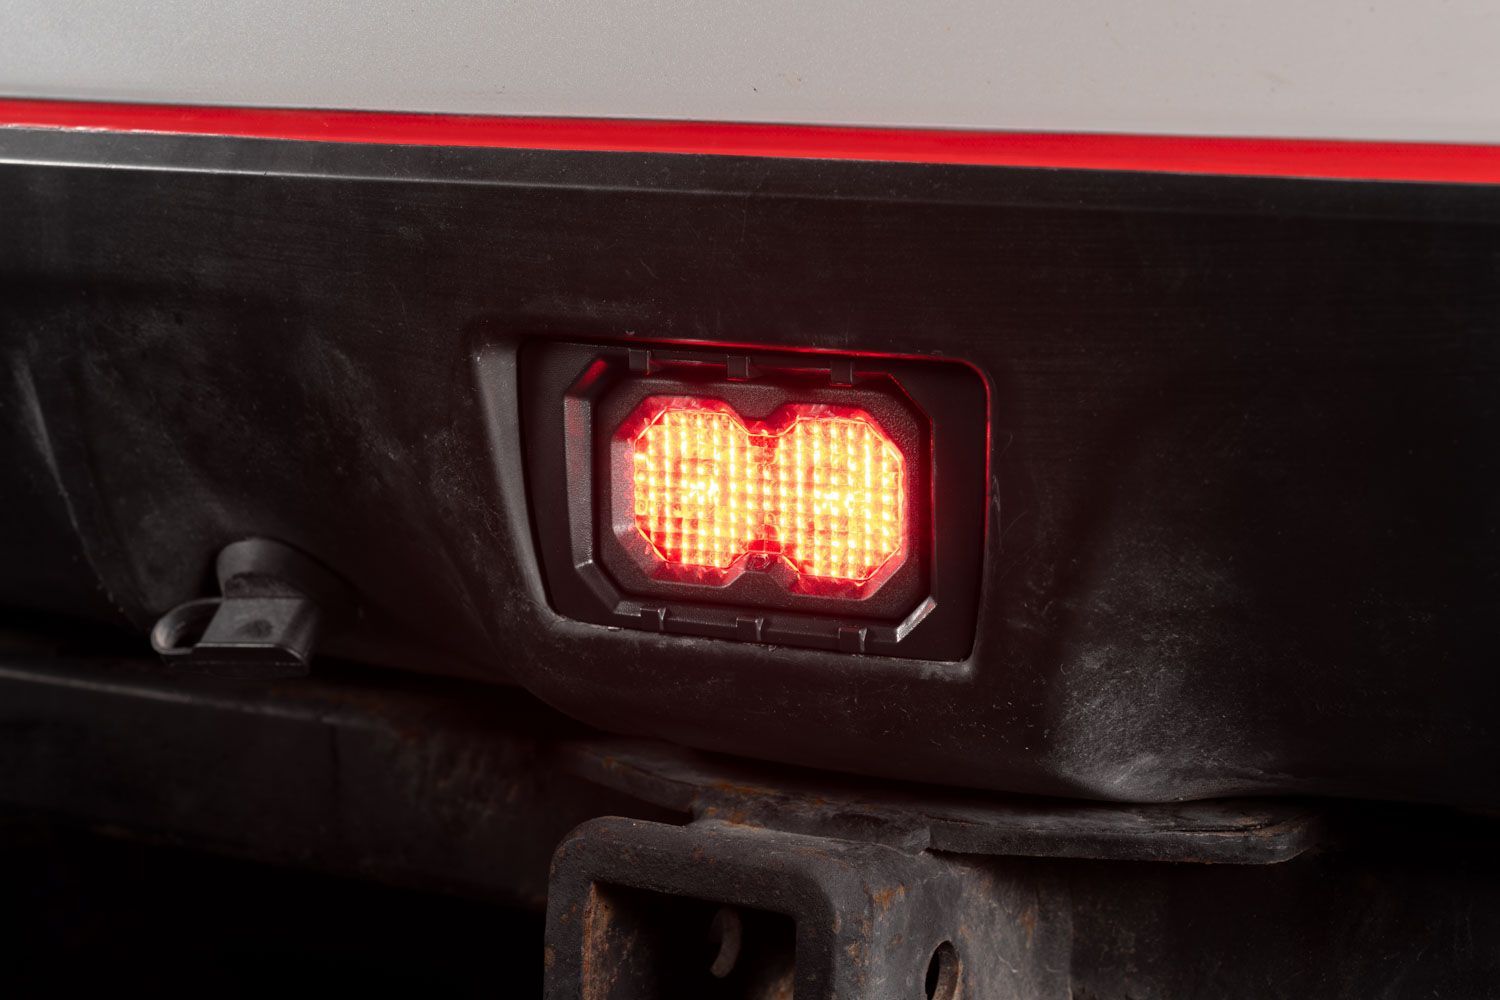
Table of Contents
- Installation Video
- Tools Required
- Installation Instructions
- Questions About the Install?
- Shop Crosstrek 4th Brake Light Kits at Ess K Customs
Installation Video
Tools Required
- 10mm socket
- 8mm socket
- T25 Torx screwdriver
- Plastic trim removal tool
Installation Instructions
Step 1 — Remove the two 10mm bolts securing the taillight to the vehicle.
Step 2 — Slide the taillight straight back to remove it from the vehicle.
Step 3 — Disconnect the factory taillight connector.
Step 4 — Plug the supplied inline harness into the vehicle-side connector.
Step 5 — Feed the harness connector down through the opening behind the rear bumper.
Step 6 — Reconnect the taillight by connecting the inline harness to it.
Step 7 — Slide the taillight back into position and reinstall the two factory 10mm bolts.
Step 8 — Using a plastic trim tool, remove the small rectangular cover in the lower rear bumper.
Step 9 — Set the bumper cover aside. It will not be reused.
Step 10 (Optional) — Leave the purple wire connected to enable brake light strobing. To disable the strobe, disconnect the wire and install the safety strobe module.
Step 11 — Plug the safety strobe module into the harness connector routed behind the bumper.
Step 12 — Route the wiring through the opening in the bumper cavity.
Step 13 — Slide the provided clip nuts onto the brake light mounting bracket.
Step 14 — Push the brake light into the mounting bracket.
Step 15 — Secure the brake light to the bracket using the supplied T25 screws.
Step 16 — Plug the harness connector into the brake light.
Step 17 — Install one washer onto each mounting bolt.
Step 18 — From behind the bumper, insert the bolts into the mounting holes.
Step 19 — Slide one spacer onto each bolt.
Step 20 — Push the brake light assembly partially into the bumper to begin threading the bolts.
Step 21 — Tighten the two 8mm bolts from behind the bumper until the brake light is fully secured.
Step 22 — Use zip ties to secure any loose or excess wiring.
Step 23 — Test the brake light for proper operation. The install is complete.
Questions About the Install?
If you run into any issues during the installation, contact Ess K Customs — as an authorized Diode Dynamics dealer, we're here to help.
Shop Crosstrek 4th Brake Light Kits at Ess K Customs
Ready to add a 4th brake light to your Crosstrek? As an authorized Diode Dynamics dealer, Ess K Customs carries genuine products with full manufacturer warranty.
Shop 2013-2015 Subaru Crosstrek XV 4th Brake Light Kit →
Shop 2016-2017 Subaru Crosstrek 4th Brake Light Kit →
This install guide applies to Diode Dynamics SKU: DD8068